Bitnami is automatic installer of open source packages. It can install software on all 3 major cloud providers: Google Cloud, AWS and Azure.
It has couple of options for installing WordPress which depend on your needs when it comes to speed and reliability. In this tutorial will use default Single-Tier deployment.
Visit WordPress package by Bitnami and Sign in.
Choose your Cloud provider
You can go with any of the supported Cloud providers, I’ll go with Google Cloud.

In next few screens I need to login to my Google account using oAuth flow and approve permissions.
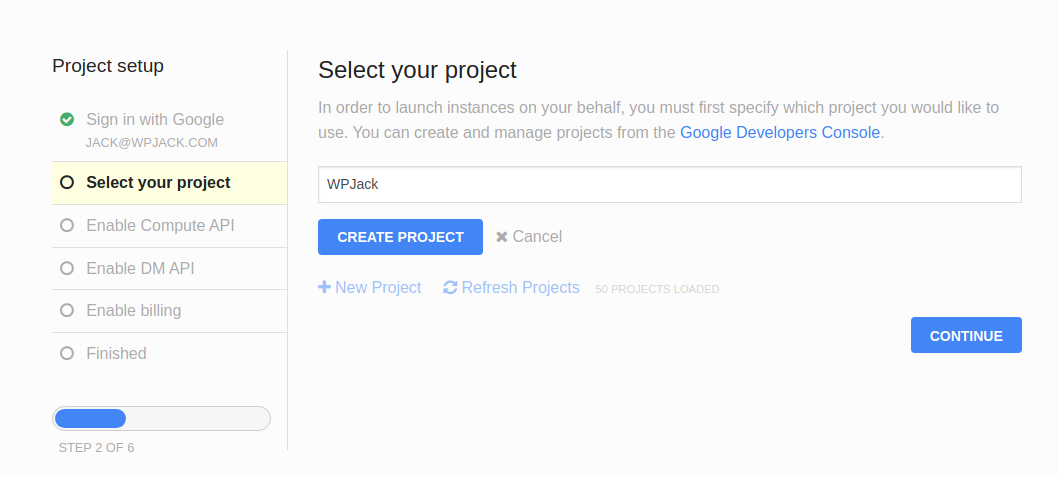
After that I am presented with project setup form, from where I’ll create new Google project named WPJack.
Now I need to Enable Compute API in order to proceed with the installation.
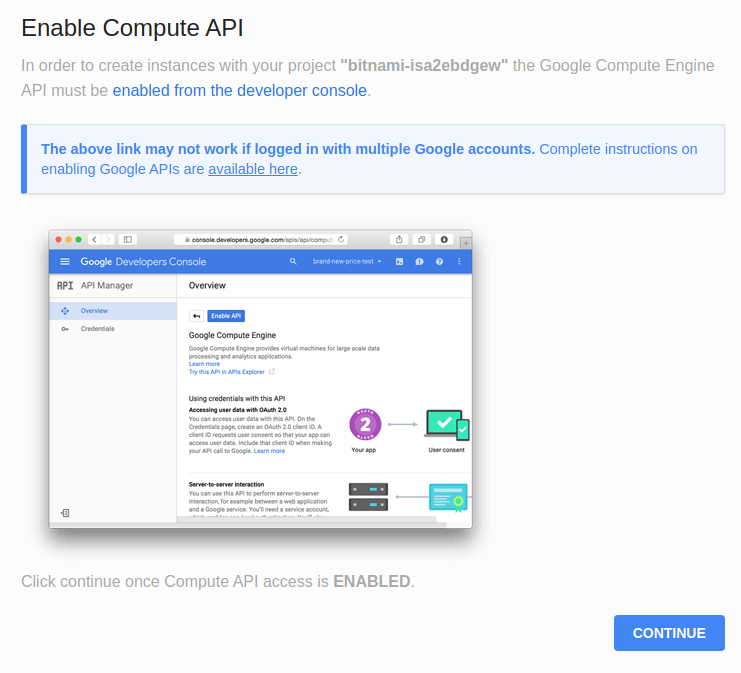
For this I’ll visit developer console link, that’s the first link above.
Inside Google Cloud Console from left sidebar choose API Library and search for Compute API:
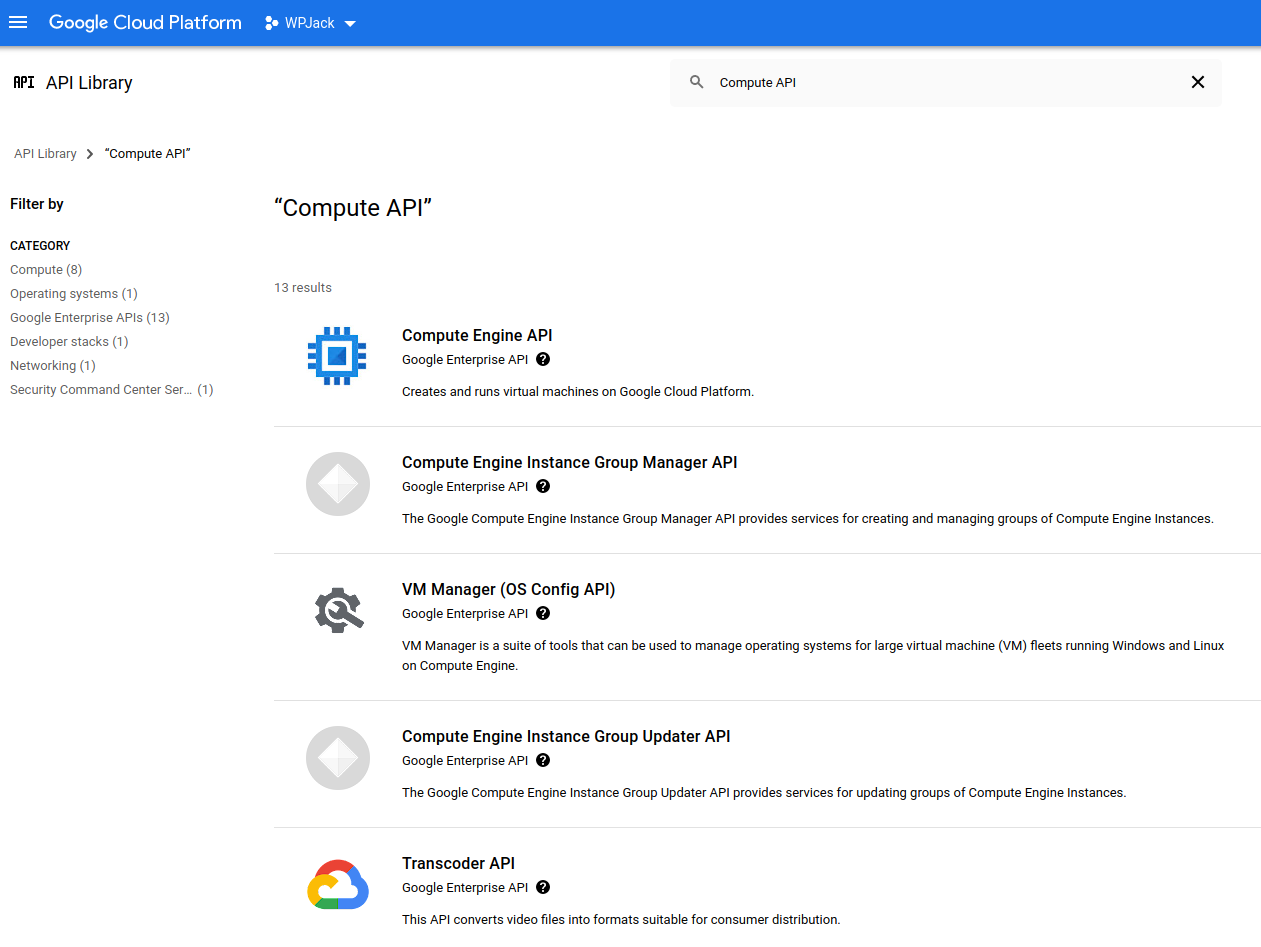
I clicked on first item from search results and after that I clicked Enable button on the next page.
At this stage they asked me to enable billing because this is newly created project.

After enabling it, now I need to enable Cloud Deployment Manager V2 API.
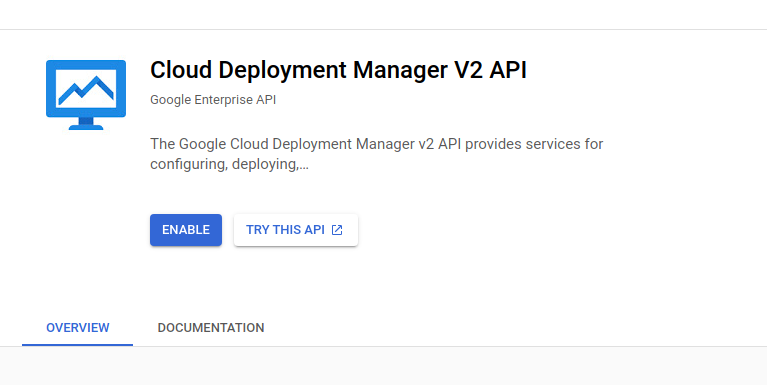
After enabling this last API Bitnami is ready to Launch my WP instance.

Now I am presented with server settings form:
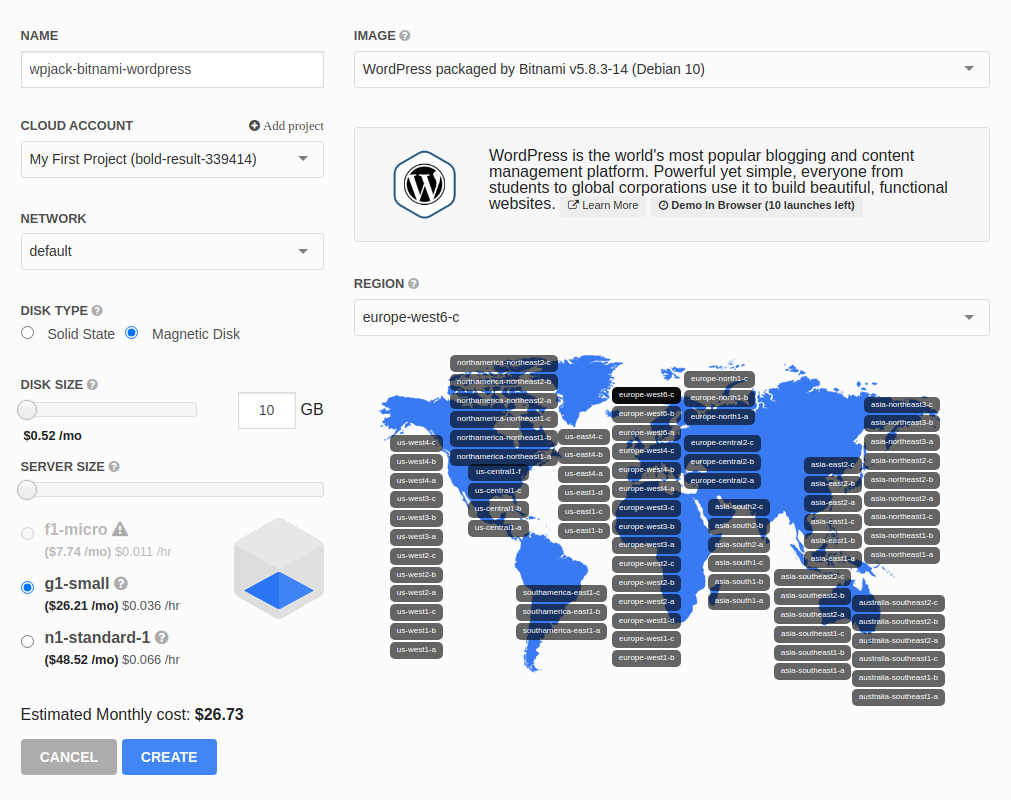
All these options are ok. Most important things here are server size, because cost will depend on it and location of the VM instance.
I’ll hit Create.
Process of creating VM instance
Now I am redirected to the following page:
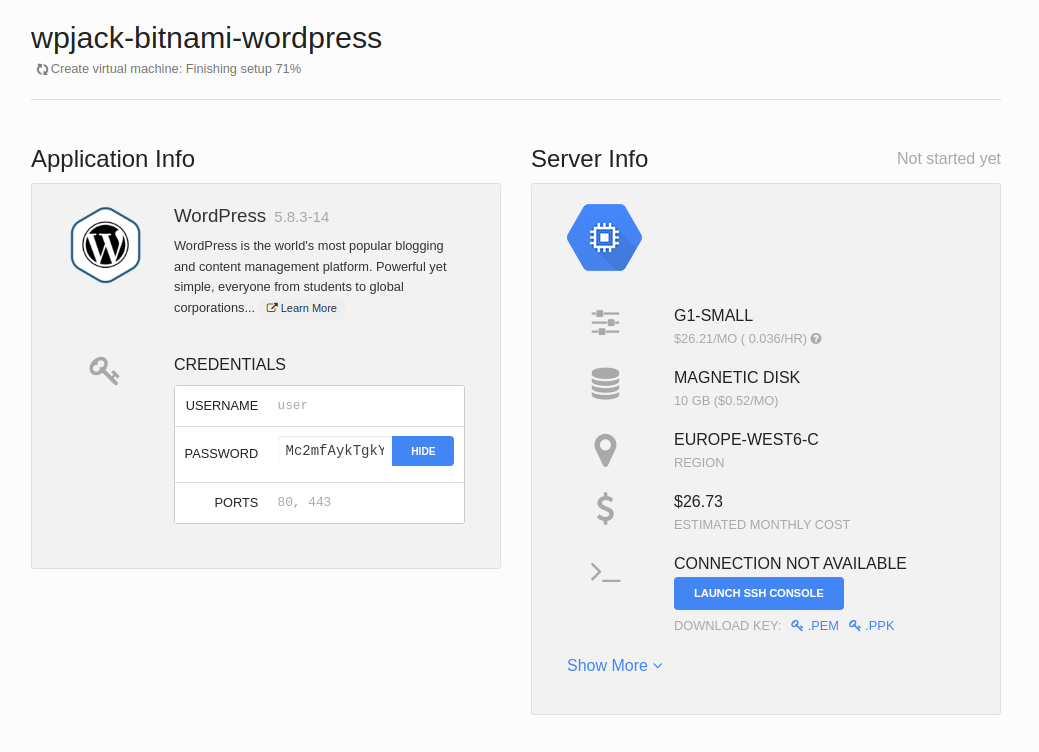
Important information from this page is application password. Make sure you copy/paste it somewhere. Also username is not a regular admin username it’s user.
Domain is not configured
I am a bit in a state of shock because Bitnami never asked me about my domain and now it installed everything without the domain.
It seems I’ll need to configure domain on my own. Ok that’s not too hard when you are a system administrator but for ordinary user I think that’s a deal-breaker.
Steps I’ll need to configure manually:
- Point A records of my domain to the IP address of new Google VM instance
- SSH into VM and configure virtual host for that domain inside
- Log inside WordPress admin and update the domain
- Somehow configure Lets encrypt SSL certificate or use Cloudflare for that
Even for me this is just too much, I would advise some other method of installation this one is incomplete.
Free Tier includes 1 server and 2 sites.