
Vultr is a relative newcomer to Cloud hosting. Vultr’s control panel is easy to use, and their prices are competitive.
Their control panel looks very calm, I like it.
If you register through this link, you’ll get $100 in credit to try out their service.
Create new server
First thing I need to do is to deploy new cloud instance.
For server I’ll choose Cloud Compute.
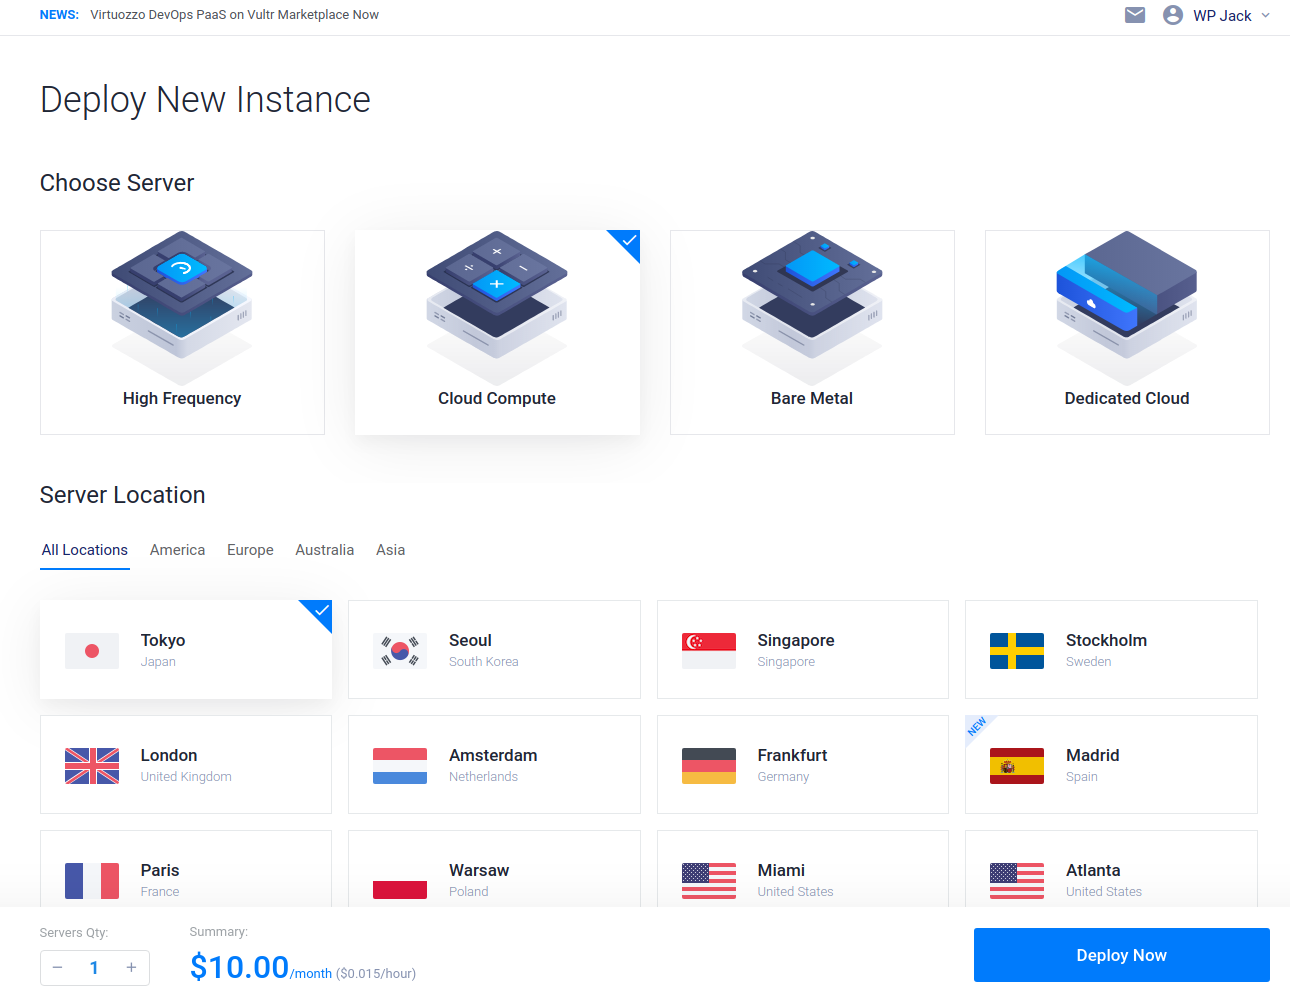
For location I’ll select Dallas US, you can use closest location to your wanted market.
Next part is selecting Server Type a.k.a. server software. Under tab Marketplace Apps there is option for WordPress. I click on that one.
For server size I choosed the smallest instance one costing $5/month.
I will leave empty all other options and just fill 2 last ones server hostname and server label.
It’s time to hit Deploy Now.
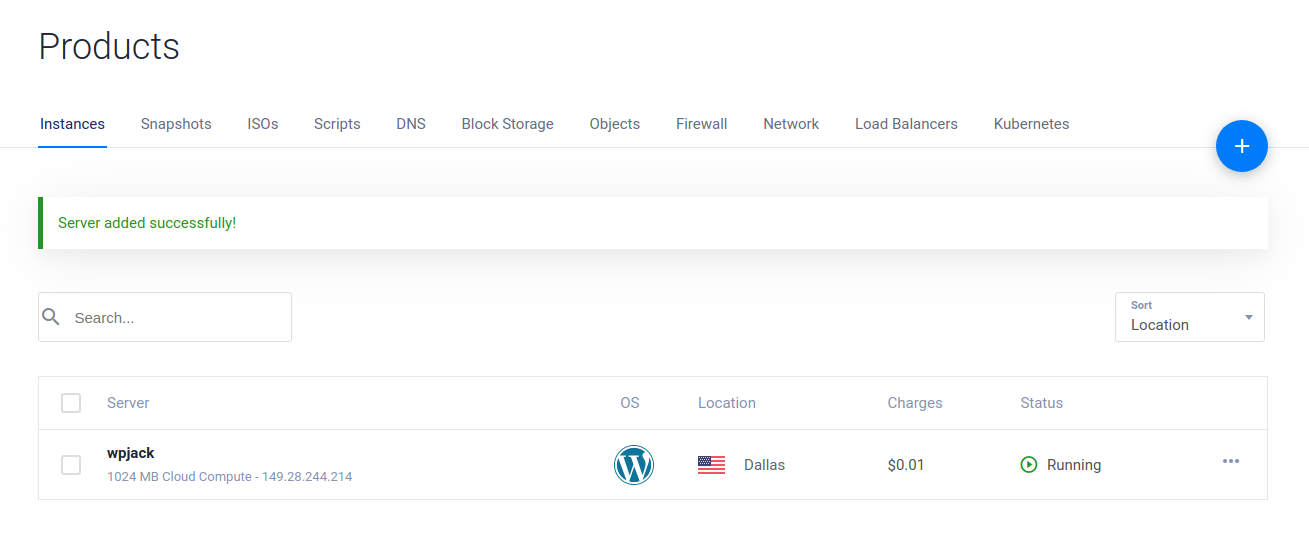
My instance is ready:
In the background I’ll visit my Cloudflare account and create subdomain vultr.wpjack.com and point to this IP address. I need that in order to configure https later.
As soon as installation was done I received an email with detailed instructions for configuring other details of my WP site. I’ll try to do these steps as quickly as possible.
Finishing WordPress Installation
When I visited server IP I had to insert username and password. That’s the first set of credentials from inside Application Information section of my server.
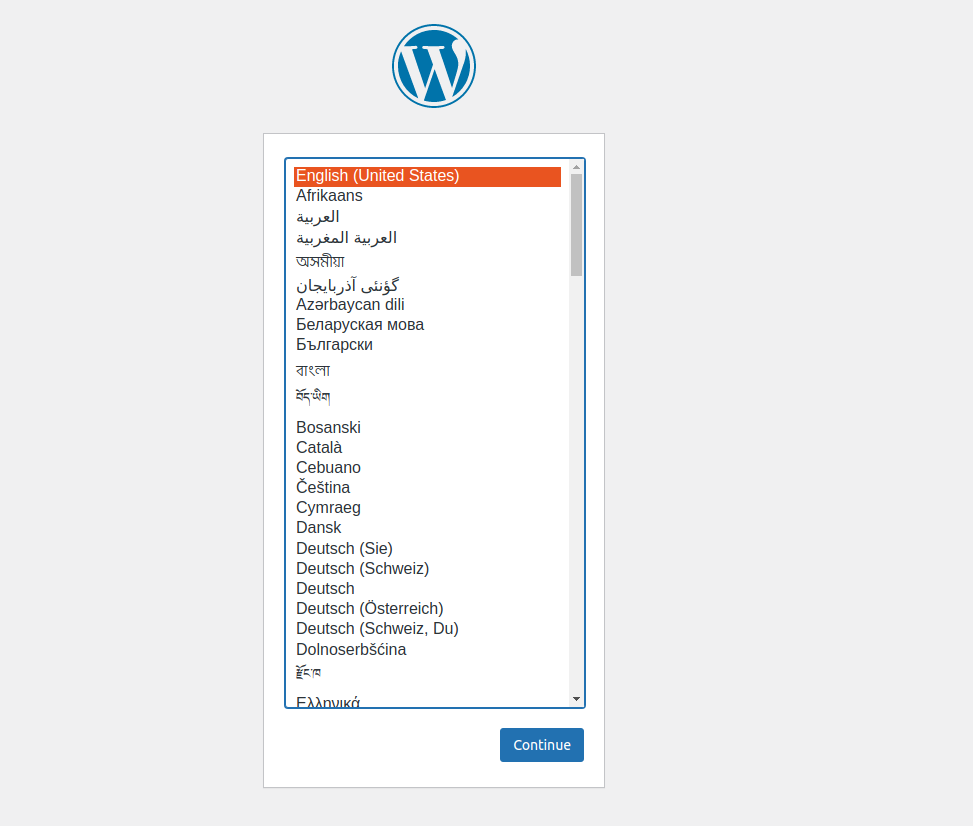
Now I see ordinary WP installation wizzard:
After installation was done I had to manually update my domain at Settings -> General and then update fields WordPress Address and Site Address to my new domain.

Now my site is accessible from the domain but without https.
Configuring SSL certificate on Vultr instance
I need to connect to my instance via SSH.
ssh root@http://149.28.244.214After this it’ll ask me for the password it’s located in server details panel.
Now I need to execute this command:
certbot --nginx --redirect -d www.example.com -d example.com -m [email protected] --agree-tos --no-eff-emailOf course I’ll replace example domain with my own, and I’ll remove www address because I don’t have them.
After executing this command SSL certificate is installed for my domain. I need to go back to wp admin site settings and udpate urls to use https version.
Now my site is served with valid SSL certificate, this was easy!
Free Tier includes 1 server and 2 sites.