
In this tutorial I’ll explain how you can install entire web server without any knowledge about admin tasks. And how you can add unlimited number of WP sites to it.
Using this tutorial you can use servers from Digital Ocean, Linode or Hetzner.
You’ll need an account for one of these server providers and new server will run under your account there.
Sign up for WordPress control panel
Visit WPJack Register page and sign up using your email or via Google single-sign on.
Service is free for 14 days and credit card is not needed. Your servers/sites will keep running even after free trial expires, you just won’t be able to manage them via WPJack.
Create first web server
On first login you’ll see following form:
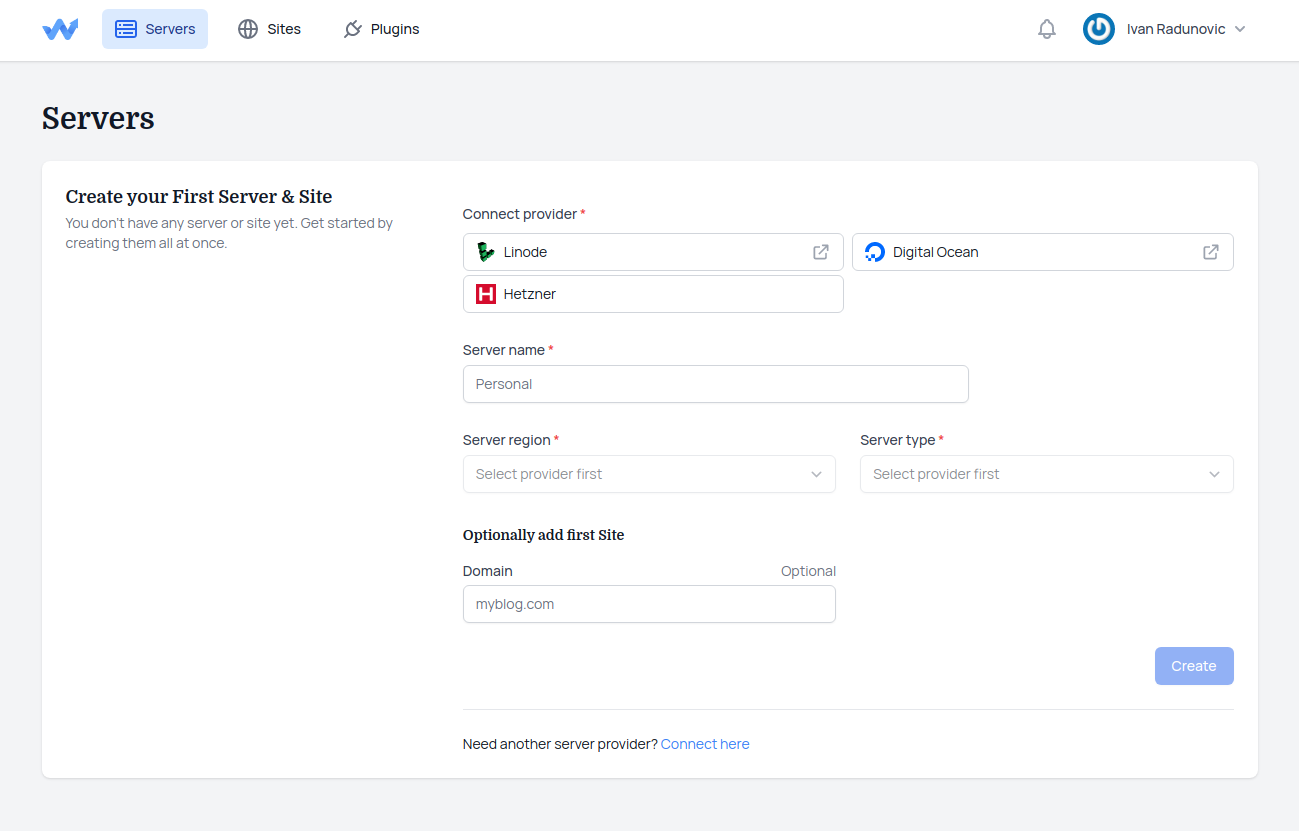
Form asks you for Server provider. You can choose between:
- Linode
- Digital Ocean
- Hetzner
Choose service where you have account opened. In my case I’ll choose Digital Ocean.
When I click on Digital Ocean link system will redirect me to DO to authorize WPJack application.
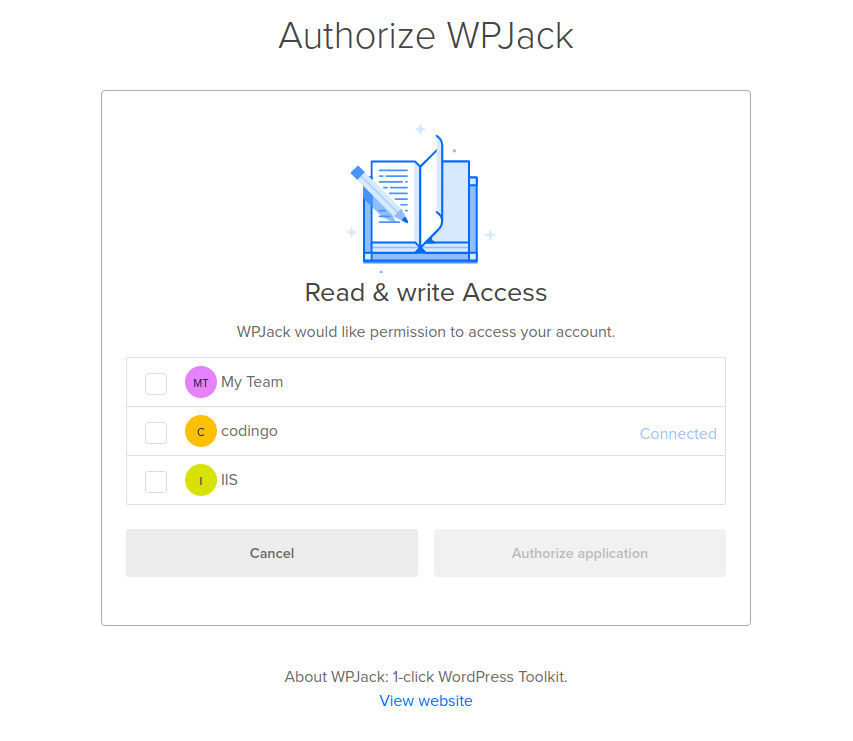
I’ll select wanted team and click Authorize application.
Digital Ocean redirects me back to WPJack and now form looks like this:
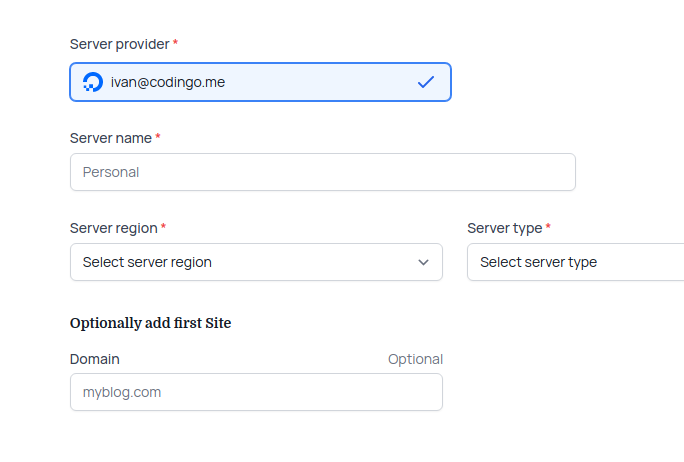
After selecting server provider, I need to enter server name, region and type. Optionally I can add first site also.
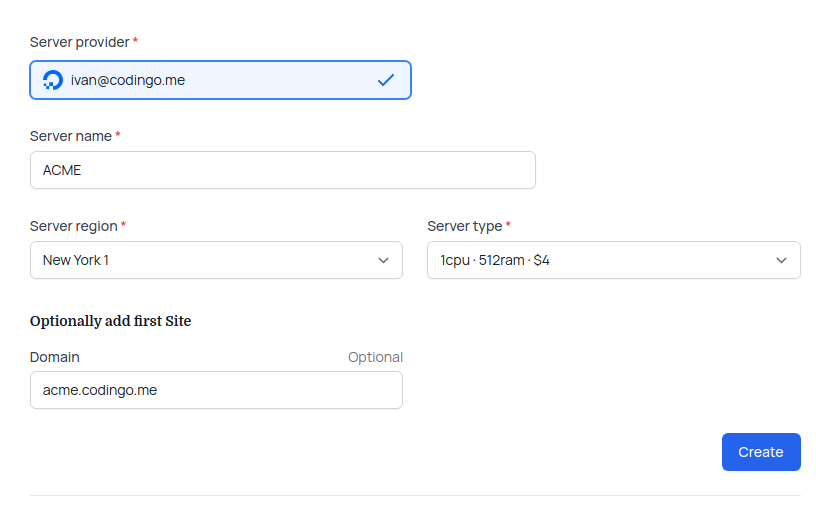
Click Create.
Provisioning process
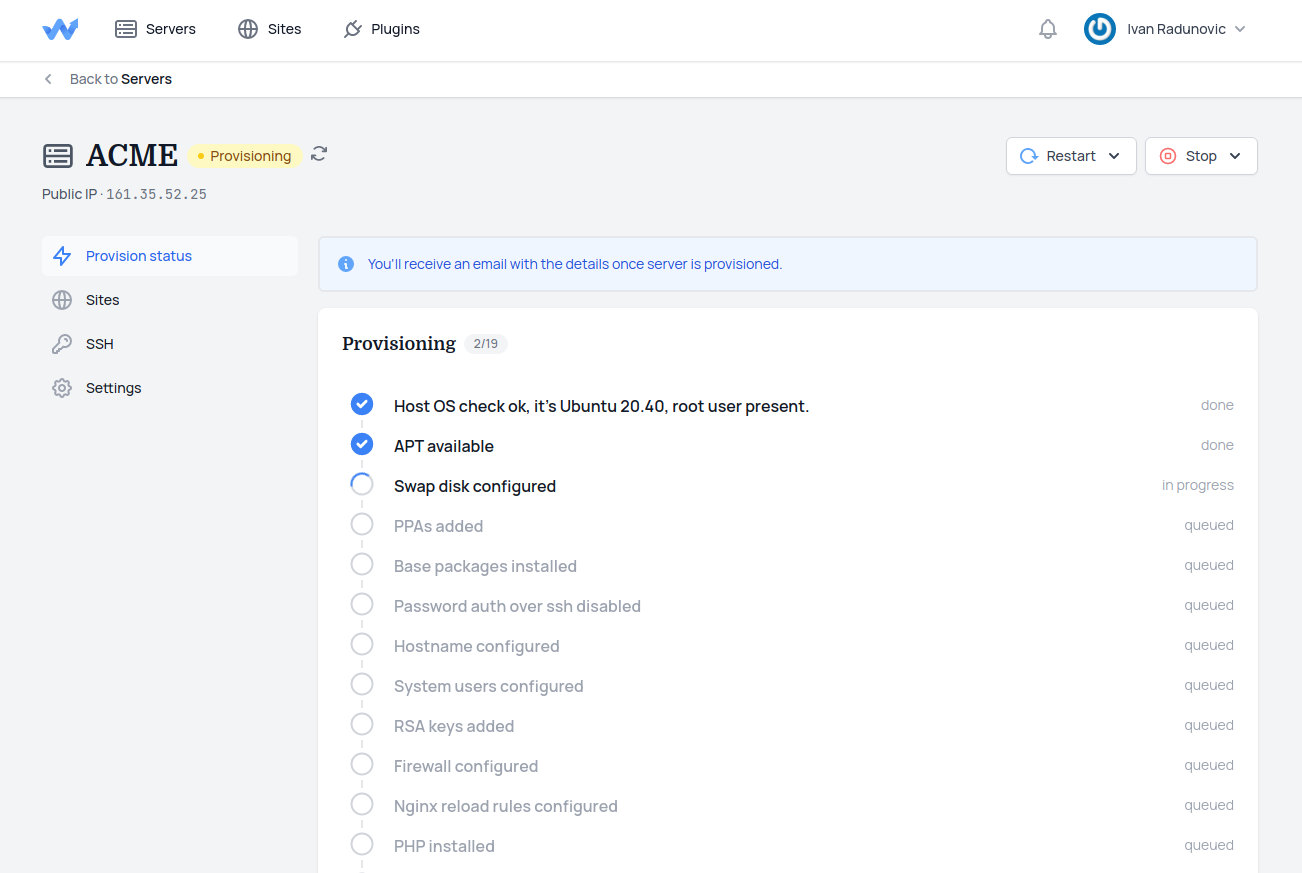
System will now provision your server. It’ll take some time because there are number of steps it needs to complete.
You can leave that page for a while and system will send an email once server is ready.
Setup DNS
Good idea is to create DNS record for 1st site while you wait.
You can see there is an IP under Server name, use that IP and create A records for your domain or subdomain.
That way you won’t need to wait for records to propagate once server is ready. In my case I use Cloudflare as DNS and this is what I’ve to create:

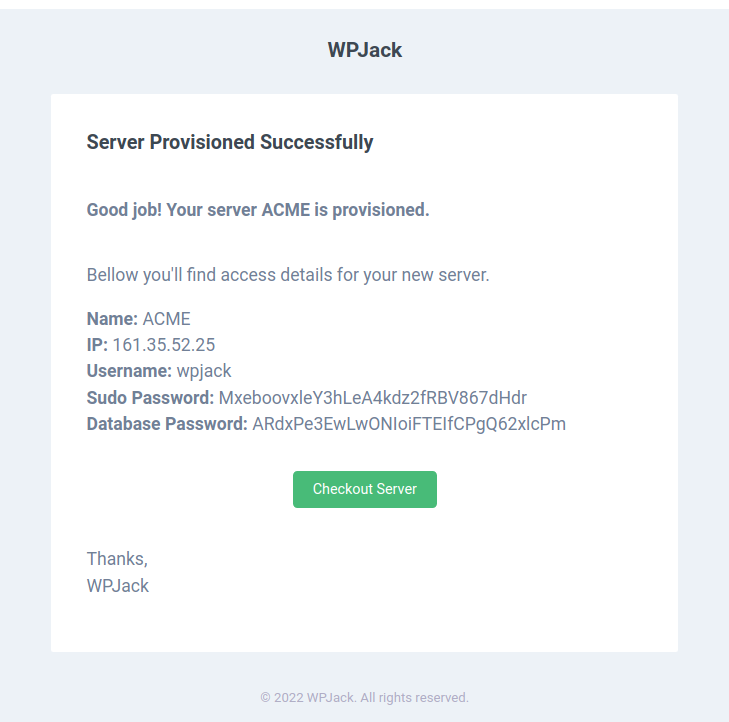
Email Notification
When everything is ready WPJack will send email notification with login details.
Keep it save somewhere.
Sites page
When new site is ready you’ll see Status changed to Active.

On this page you can add any number of new sites.
Site installed
After site is installed you’ll receive an email with all the details.
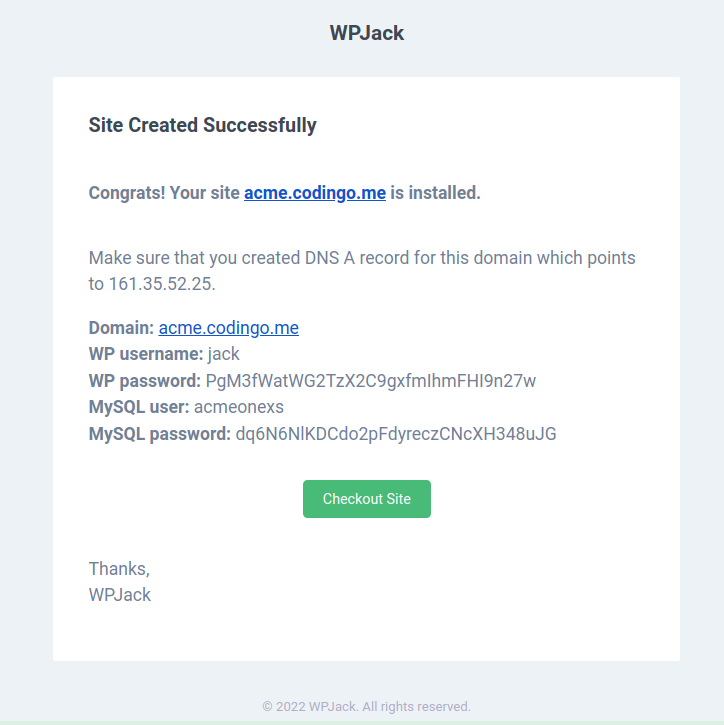
You can go and visit wp-admin page of your new site and use WP username and WP password to login.
Site SSL
If you’re on Cloudflare you can use their own SSL and leave server without any cert.
I like to have certificates on both sides, so I’ll add it through WPJack.
Go visit Sites -> Choose your site -> SSL tab.
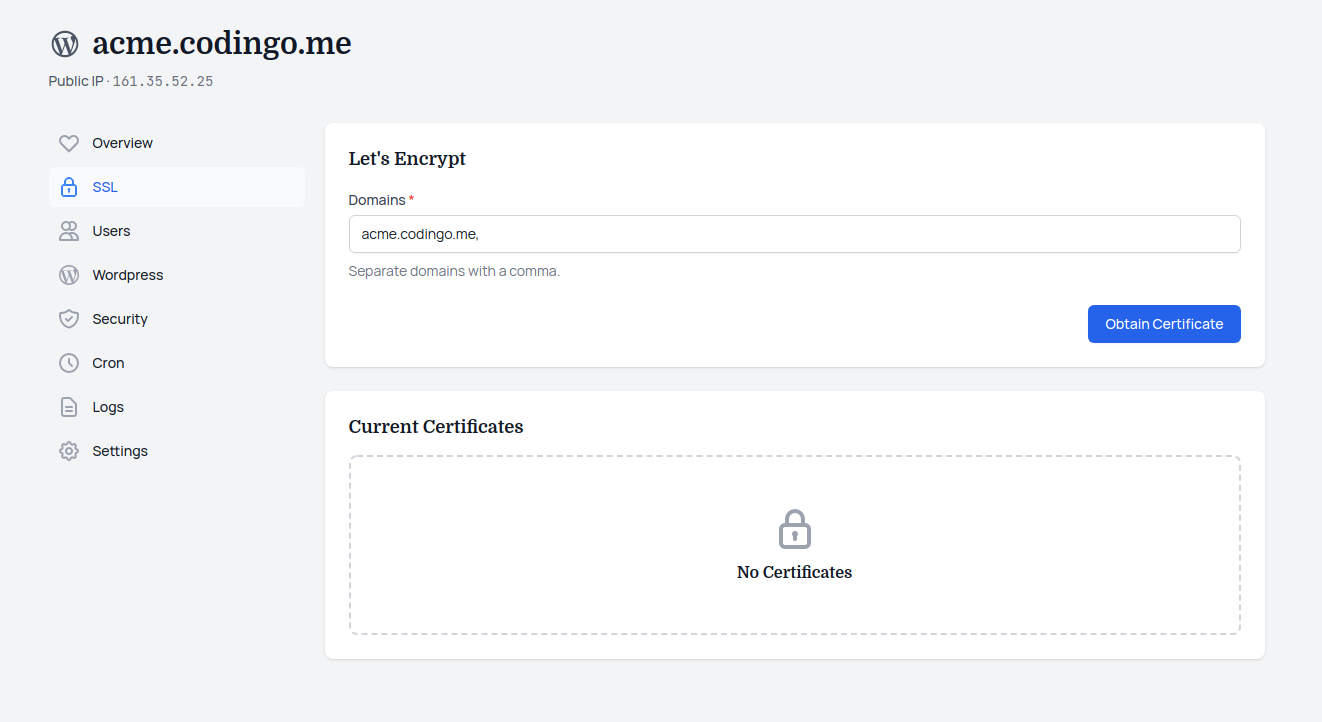
Just click on Obtain Certificate and system will obtain new certificate and it’ll activate it.
Obtaining takes some time and it’s required that DNS records are propagated.
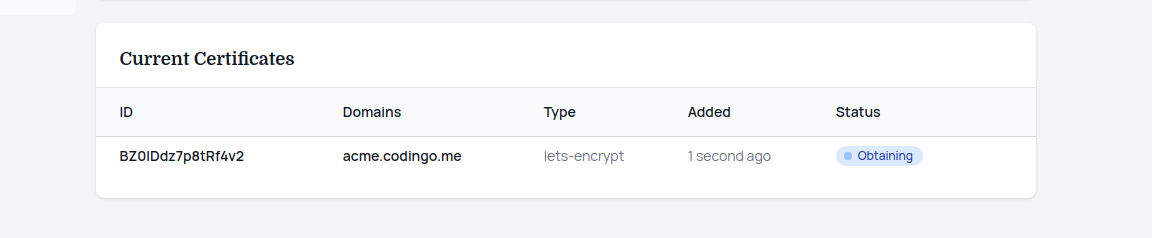
After certificate is activated all traffic is redirected to https by default.
Free Tier includes 1 server and 2 sites.