If you’re working with multiple remote servers SSH config file setup is required. Typing port number, username, ip and password on every login attempt is insane in 2022. Using RSA keys is a must, but also you won’t be able to have multiple servers configured unless you use config file.
Passwords vs RSA keys
Configuring SSH authentication to work with passwords is a no-no. On our servers we disable this by default. Usage of RSA keys is required and only way to get into the server.
If you ask yourself “Why passwords are bad?” it’s because passwords are in very rare cases with good complexity. Users tend to reuse 2-3 passwords for every service. Imagine if credentials leak, and then all your servers are vulnerable.
In order to increase security you need to do this:
- Disable password authentication for servers
- Use RSA with 2048 or 4096 bytes
- Generate unique pairs for every user/server combo
It’s good that WPJack covers all of these steps.
Generating RSA keys
I use ssh-keygen to generate keys pairs.
Usual command:
ssh-keygen -t rsa -b 4096 -C "Some description about key"It’s easy to understand what options mean:
- -t : type RSA
- -b : bytes 4096
- -C : comment
Command will ask you couple of questions it’s important to leave passphrase empty.
After it’s done you’ll have 2 files generated:
- Public key – goes into remote server
- Private key – same as password, you keep it secure on your system
Generating keys on WPJack
Inside WPJack you don’t need to worry about generating RSA keys.
System generates unique pairs based on the same command above.
Only difference is that we automatically add public key to remote server, and private key is displayed so you can save it.
To generate new SSH key go into SSH tab of your server and create key for certain user.
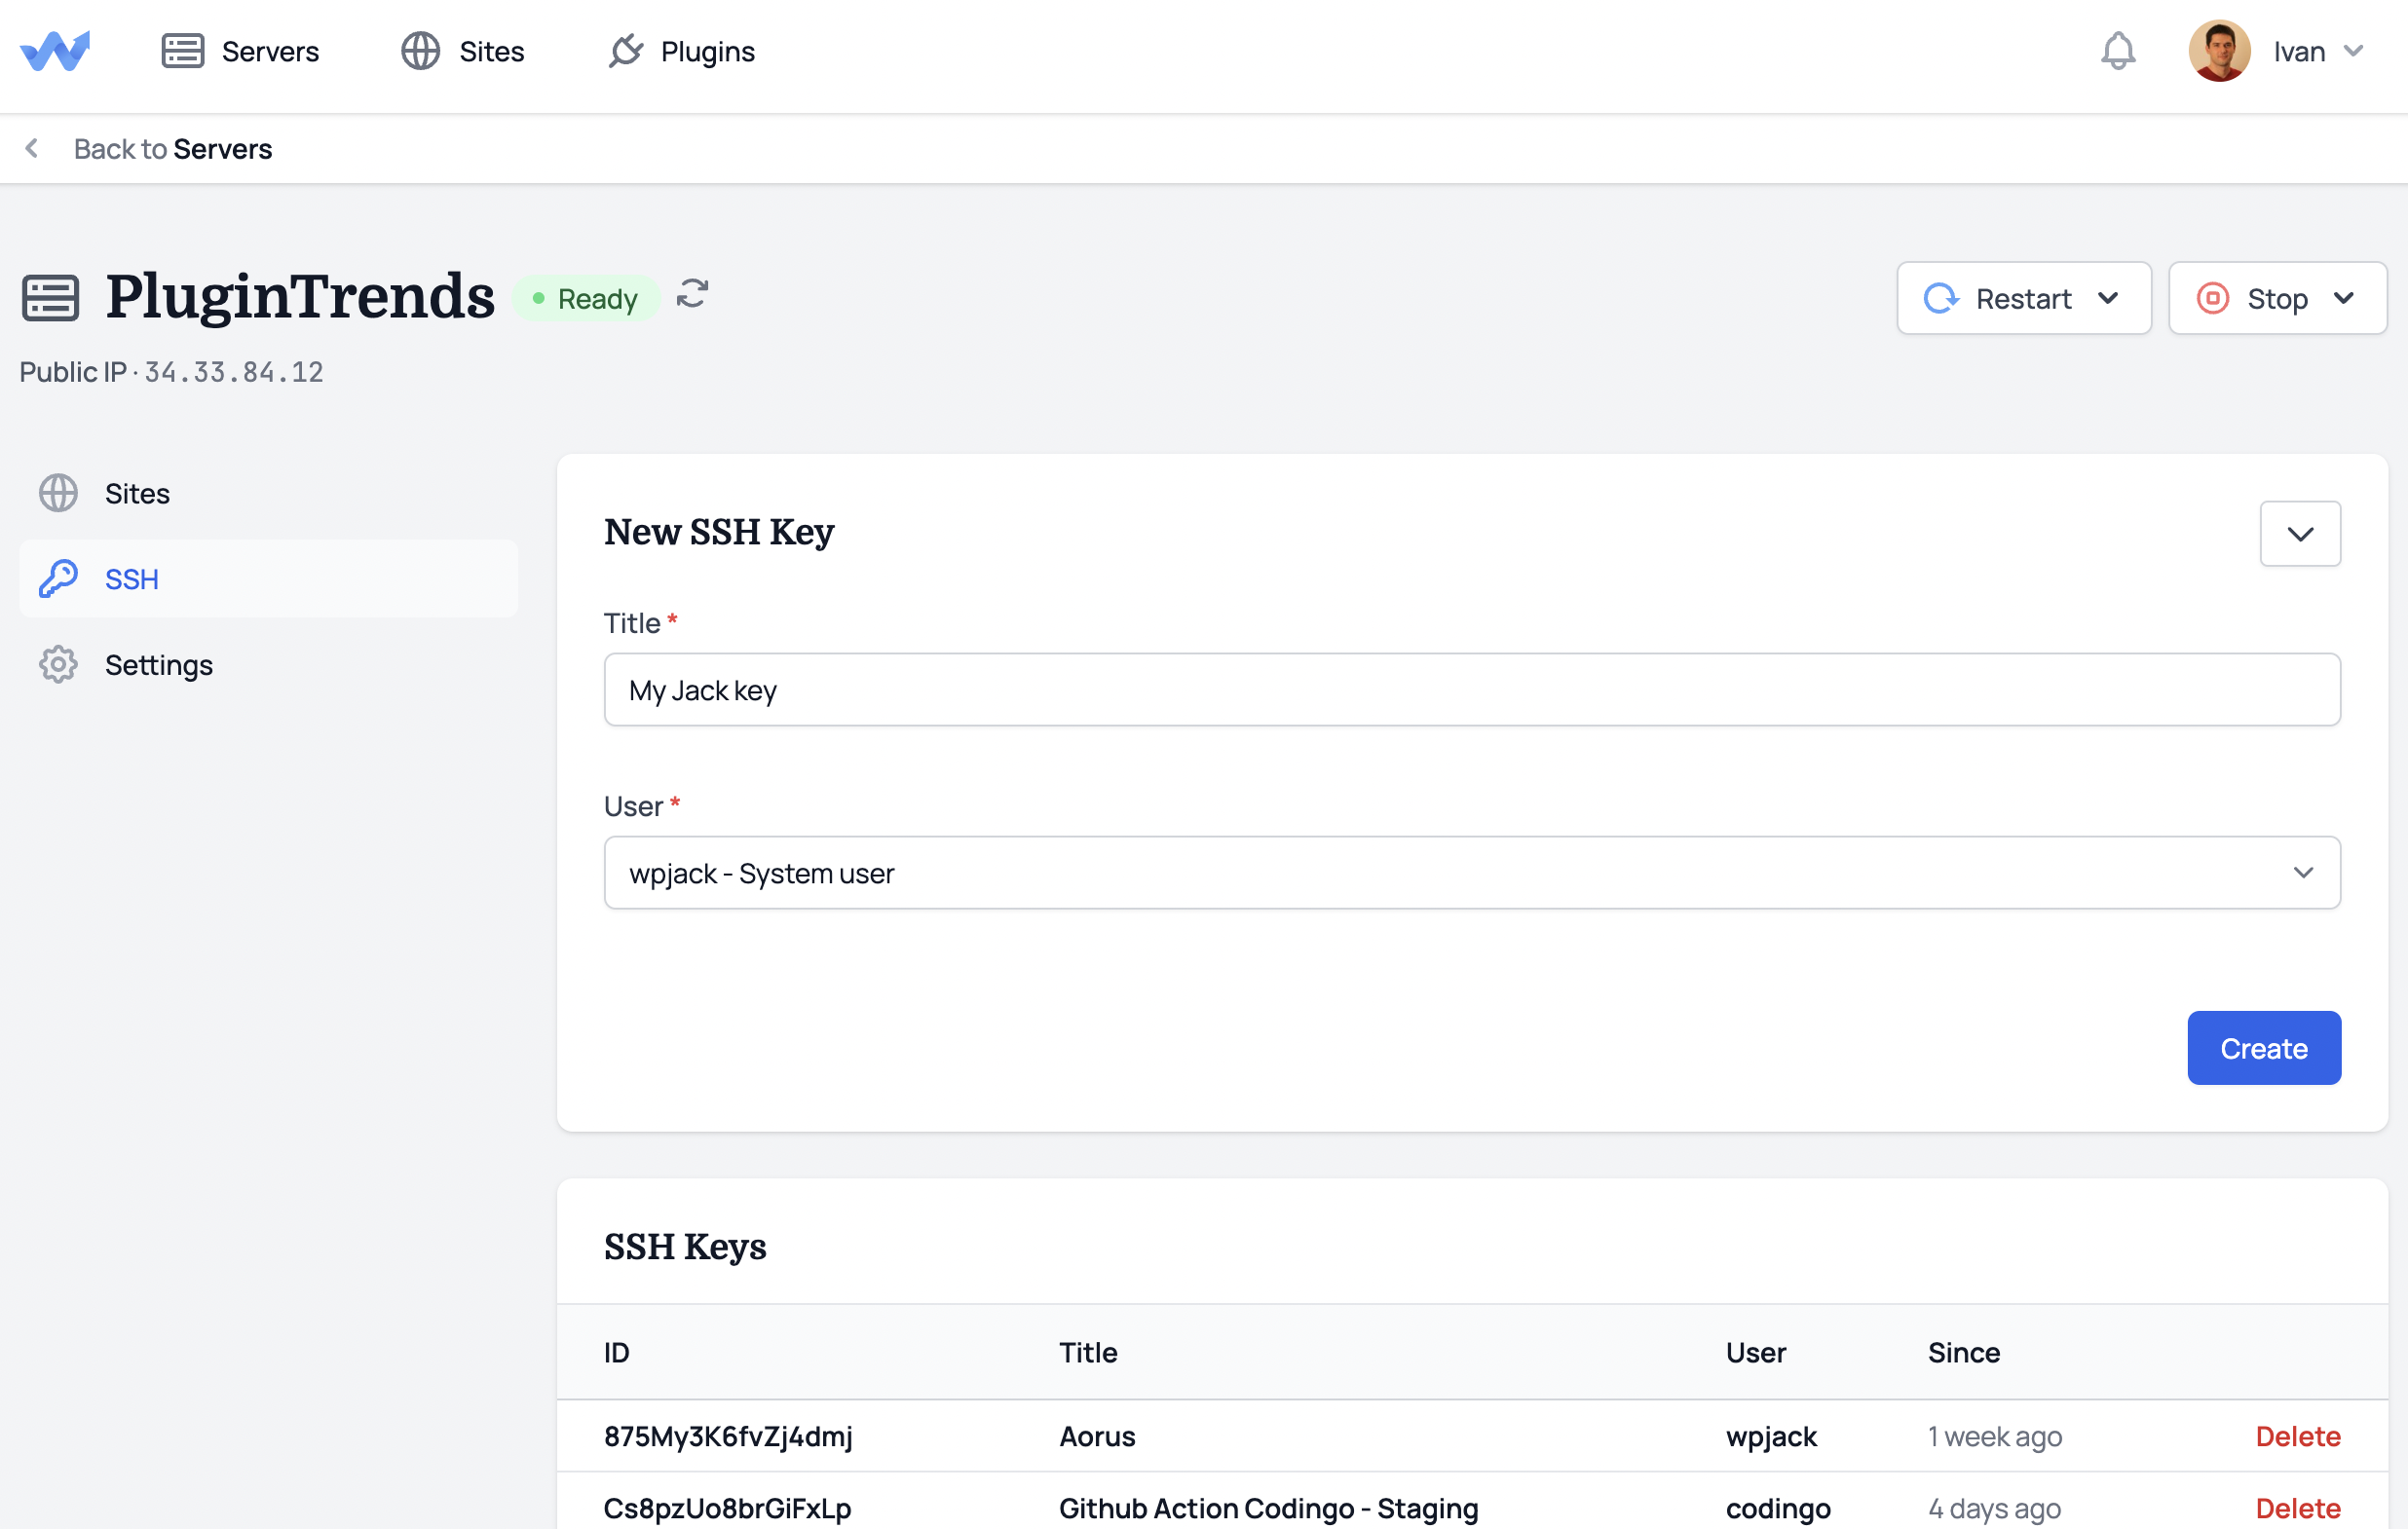
After creating you’ll see page with private key. Just save it somewhere so you can use it later.
Best option is to save those private keys under ~/.ssh/ folder on your local system. And change permissions to 600 for private keys.
SSH config file
Now good part.
I’ll be short here and only explain basics.
Location
Every user on Unix systems has it’s ssh folder under ~/.ssh.
If you miss that folder in your home directory, just create it.
In my case my username is ivan so full path is /home/ivan/.ssh/config
Inside that folder you should store config file and private keys.
Structure of config file
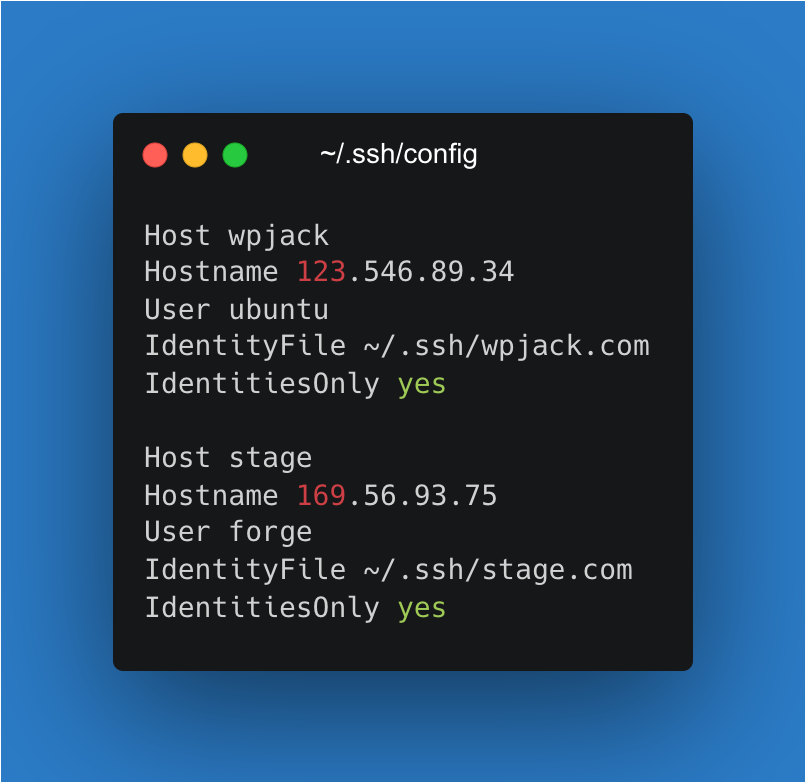
For every remote server you need separate section inside this file.
You can add unlimited number of servers.
Section looks like this:
Host my-server
Hostname 34.33.84.12
User wpjack
IdentityFile ~/.ssh/plugintrends
IdentitiesOnly yes
And you’ll repeat this section for other servers and make sure to have empty line between them.
Identity file is path to private key, user is linux user used for SSHing and everything else is clear.
How you login
Just open your terminal and type:
ssh my-serverThat’s it.
No need to type ip, username, key path and other details. Super poweful!
Authenticate on GH with SSH
For GitHub and other VCSs you can add ssh config inside ssh config file.
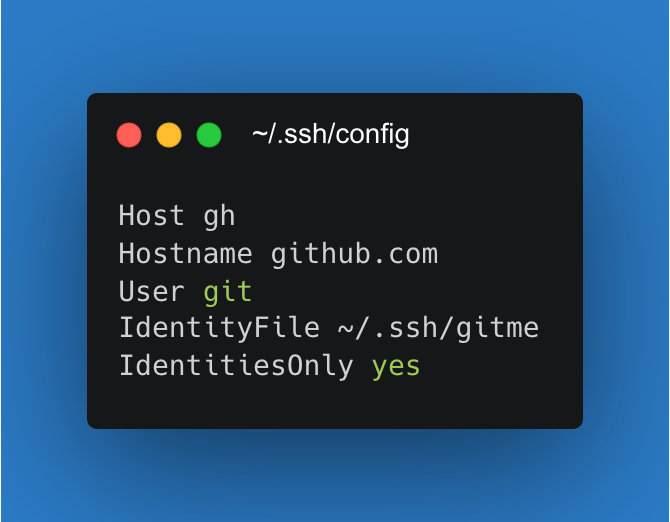
In this case from image above in order to clone from GitHub just use:
git clone gh:organization/repositoryYou can have multiple GitHub identities and separate them like this.
Also no need to enter manually Github credentials ever.
I hope this’ll boost your productivity a bit 🙂
Free Tier includes 1 server and 2 sites.