So you want to edit your WordPress site. The good news is, you've got plenty of tools right inside your dashboard to change just about anything, from swapping out a photo to adding an entire online store. What you use really just depends on the job at hand.
Understanding the WordPress Editing Landscape
Think of this as your roadmap. Whether you're a business owner who needs to tweak a product description or a blogger polishing up a new post, knowing which tool to grab is the first step.
The sheer scale of WordPress is mind-boggling. It powers 43.4% of all websites on the internet. With over 70 million new posts going live every single month, it's clear that editing is what makes the platform tick. If you're curious, you can dig into more of these WordPress platform statistics. This constant activity means the tools for making changes are always getting better.
Core Editing Areas
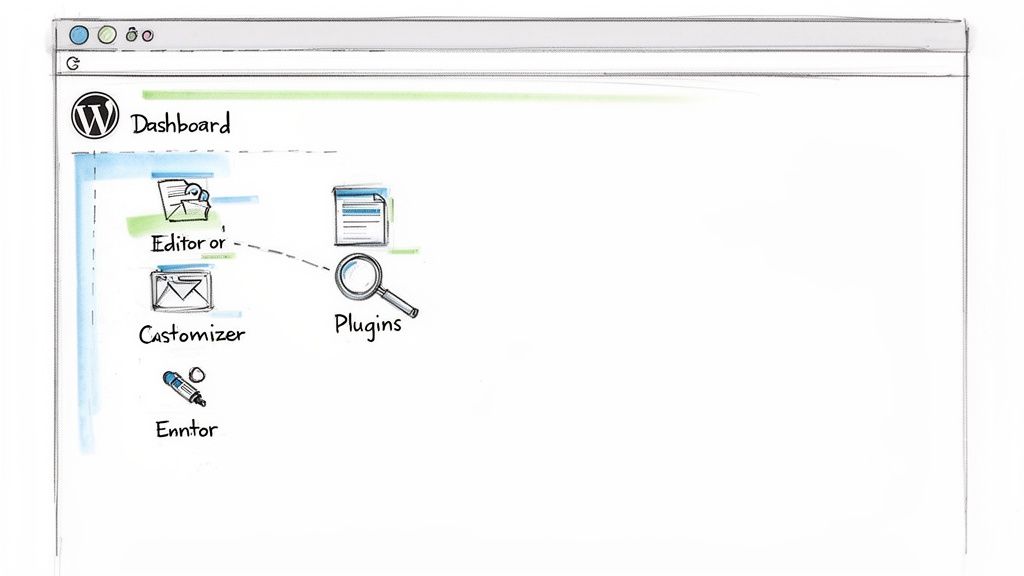
To get anything done, you first need to know where to look. Most of your work will happen in one of three main areas, each with a specific job.
- Content Editing (Posts & Pages): This is where the magic happens daily. You'll be in the Block Editor (often called Gutenberg) to write articles, update your "About Us" page, or drop in new images and videos. It’s your content creation hub.
- Design Customization (Themes & Customizer): This controls the look and feel of your site. Need to upload a new logo, change your brand colors, pick new fonts, or rearrange your main menu? The Customizer is the place to be.
- Functionality Expansion (Plugins & Widgets): When you need your site to do something new—like add a contact form, improve your SEO, or start selling products—you’ll be installing and setting up plugins. Widgets, which often come from plugins, let you add small blocks of functionality to places like your sidebar or footer.
The whole point is to give you the confidence to manage your own site without calling a developer for every little thing. Once you understand these different zones, you can make changes without that nagging fear of breaking something.
Knowing which tool to use is half the battle. If you spot a typo, you head straight to the Post or Page editor. If you want to change your site's tagline, that's a job for the Customizer. This separation keeps things organized and makes the whole process feel much less intimidating.
To make it even clearer, here's a quick breakdown of the different tools and what they're for.
WordPress Editing Methods at a Glance
| Editing Method | What It Controls | Best For |
|---|---|---|
| Block Editor (Gutenberg) | The content inside individual posts and pages—text, images, videos, columns. | Bloggers, content creators, and anyone updating page information. |
| Theme Customizer | Site-wide design elements: logo, colors, fonts, menus, and widgets. | Making visual brand updates and adjusting the overall site layout. |
| Plugins | Adds new features and functionality that WordPress doesn't have by default. | Extending your site's capabilities (e.g., e-commerce, forms, SEO). |
| Page Builders | Complete visual control over page layouts, often with drag-and-drop interfaces. | Building complex, custom-designed landing pages or entire sites without code. |
| Direct File Edits (SFTP/SSH) | Theme and plugin code, configuration files (like wp-config.php). |
Developers making advanced customizations or troubleshooting complex issues. |
This table should give you a solid mental map of your WordPress toolkit. As you get more comfortable, you'll find yourself jumping between these areas without a second thought.
Mastering Everyday Content Edits
Let's be honest, most of your time tweaking a WordPress site will be spent right here: inside the Block Editor, which you might also know as Gutenberg. This is the heart of your content creation. Forget thinking of it like a simple word processor; it's much more like playing with digital LEGOs for your ideas.
Everything you add—a paragraph, an image, a video, a headline—is its own self-contained block. This is a game-changer because it gives you a ton of flexibility. You can drag paragraphs around, cluster images into a neat gallery, or create slick multi-column layouts to break up a wall of text, all without ever writing a line of code.
This sketch gives you a good idea of how the block system works. You just pick what you need and pop it into the page.
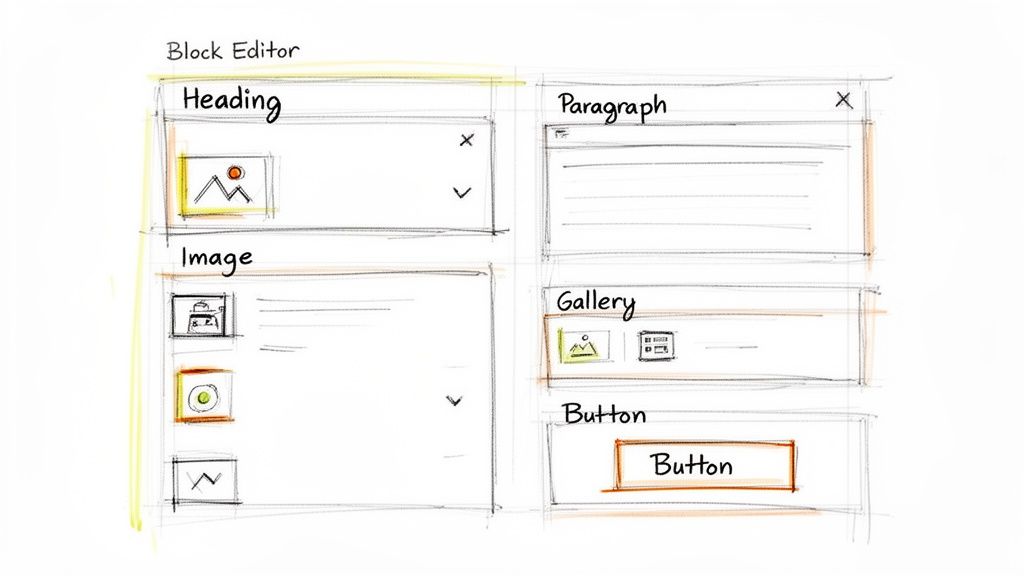
From this simple menu, you can insert everything from a basic list to more complex elements like call-to-action buttons or embedded tweets. It really makes building dynamic pages something anyone can do.
Building Engaging Layouts Block by Block
Imagine you're sprucing up your company’s "Services" page. Instead of just dumping a load of text, you can use the Block Editor to build something far more engaging.
Here’s a practical example:
- Columns Block: First, drop in a Columns block to split the layout into two or three sections.
- Image and Text: In one column, place an icon or a photo representing a service. In the column next to it, use a Heading block for the service name and a Paragraph block for a quick description.
- Button Block: Cap it off with a Button block that links to a dedicated page, maybe labeled "Learn More" or "Get a Quote."
This approach isn't just prettier; it's way easier for visitors to scan and digest. You've just turned a boring page into a professional, interactive layout in a few clicks.
The real magic of the Block Editor is how it handles media. Want to embed a YouTube video? Just paste the URL. WordPress is smart enough to see the link and automatically create the video block for you. This keeps your site interesting without bogging it down with heavy video files.
Once you’ve got your content and blocks all arranged, the final piece of the puzzle is getting it live. For a complete walkthrough of that process, it's worth learning how to publish on WordPress properly to make sure all your settings are dialed in. Nailing this last step is just as crucial as writing great content in the first place.
Customizing Your Website's Look and Feel
Okay, let's move past editing content. Your site's design is its digital handshake—the first impression that tells visitors who you are. This is where you really start to shape your site's visual identity, turning a standard theme into something that’s genuinely yours. The main tool for this job is the WordPress Customizer.
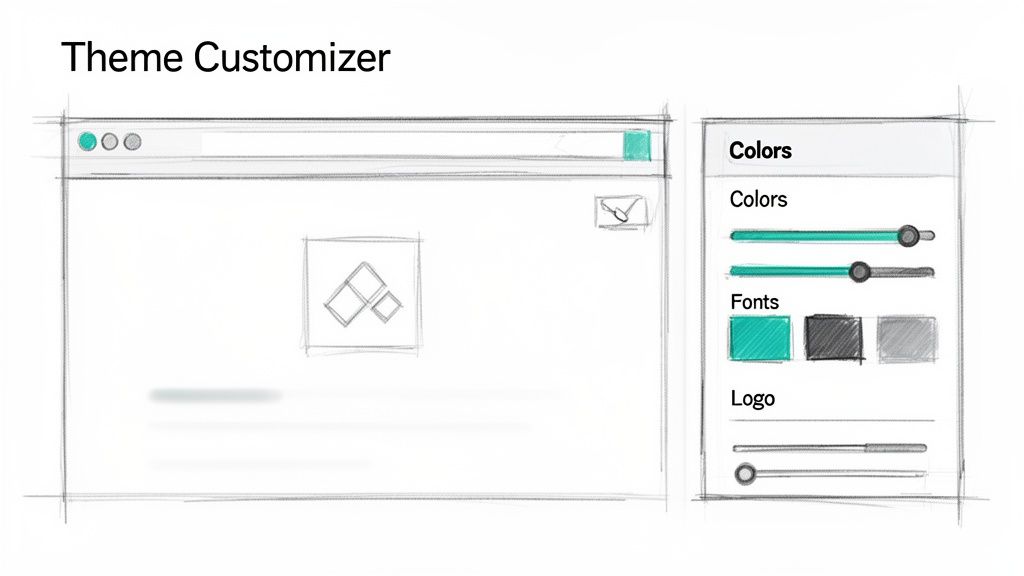
Think of the Customizer as your command center for live visual edits. You can get there by navigating to Appearance > Customize right from your dashboard. Once you're in, you'll see a panel of controls on the left and a real-time preview of your site on the right. Any change you make, whether it's updating your brand colors or swapping out a font, shows up instantly.
Making Live Changes with the Customizer
The exact options you see will depend on the theme you're using, but most modern themes give you a solid set of controls over the core design elements.
- Site Identity: This is where you’ll upload your logo, set a site icon (the little favicon that shows up in browser tabs), and tweak your site title and tagline.
- Colors & Fonts: Here you can adjust the global color scheme for things like links, buttons, and headings. Many themes also integrate with Google Fonts, giving you hundreds of typography choices to play with.
- Layout & Header: This area lets you configure your header layout, choose how your blog posts are displayed, or adjust the width of your main content area.
Honestly, the Customizer is the safest and easiest way to make these kinds of site-wide design changes. You can experiment all you want, and nothing is permanent until you hit that "Publish" button. Picking a flexible theme is a great start, and you can learn more by checking out our guide on how to choose the right WordPress themes.
Gaining Full Control with Page Builders
The Customizer is fantastic for global styles, but sometimes you need absolute control over a specific page. That's where page builders like Elementor or Divi come into the picture. These plugins give you a powerful drag-and-drop interface, essentially letting you build any page layout you can dream up.
Their popularity speaks for itself. With WordPress powering 43.3% of all global websites, tools that simplify complex design work are a necessity. Elementor alone is used on over 8 million sites, and a staggering 90% of its users say it helps them build sites faster. This isn't slowing down, either; page builder adoption is expected to hit 60% by 2026. You can dig into more of these powerful WordPress statistics if you're curious.
Page builders are my go-to for creating high-impact homepages, service pages, or custom landing pages. They give you a blank canvas, freeing you from your theme's structural rules for those key pages that just need to stand out.
Adding Finesse with Custom CSS
So, what if you just want to make one tiny, specific change? Maybe you want to change the color of a single button or bump up the font size of your footer text just a little. You definitely don't need a full-blown page builder for that.
Head back to the Customizer and look for a section called "Additional CSS." This is a safe little sandbox where you can drop in your own CSS snippets to override your theme's default styles. It's the perfect solution for minor adjustments because your code is saved independently—it won't get wiped out when you update your theme. It gives you surgical precision without the risk of messing with core theme files.
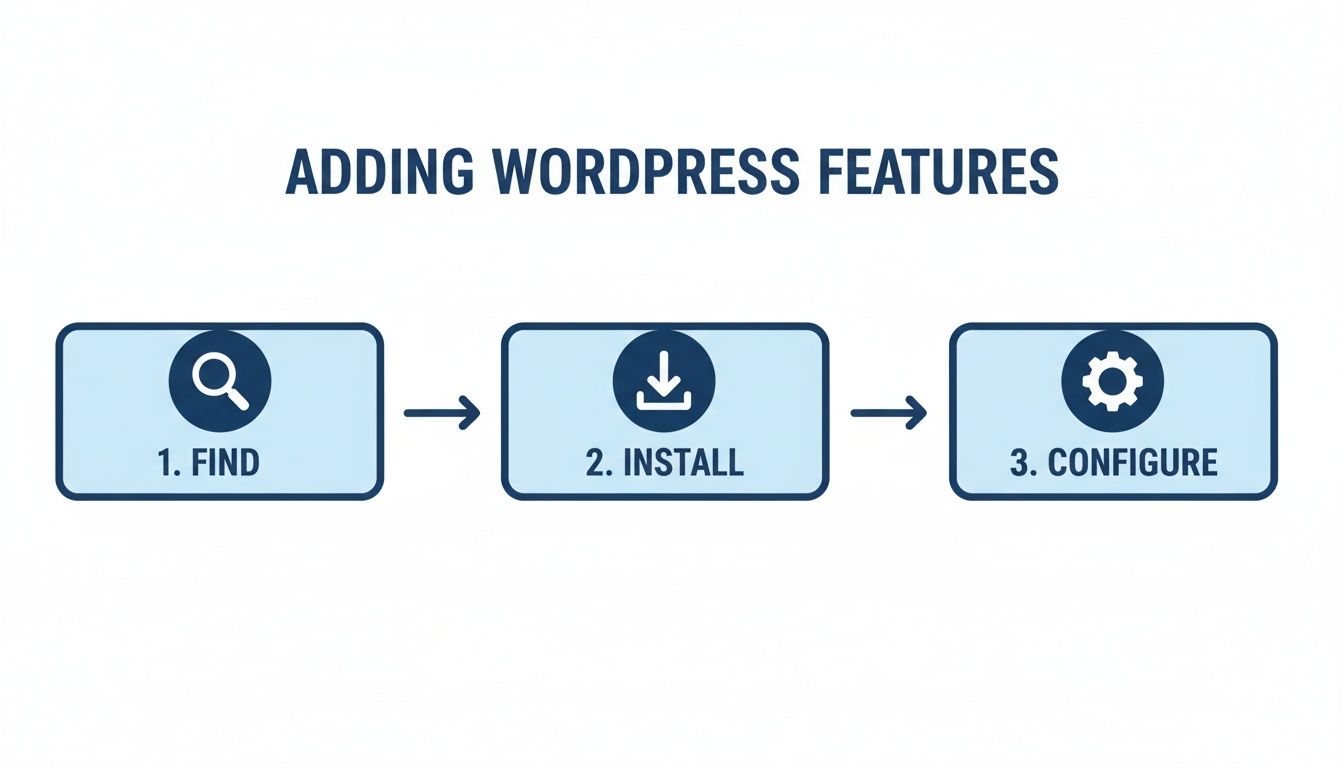
Adding New Features with Plugins and Widgets
Once you get past changing text and tweaking your design, you really start to unlock the power of WordPress by adding new functionality. This is plugin territory. Think of plugins as apps for your website—they let you bolt on anything from a simple contact form to a full-blown e-commerce store, usually without touching a single line of code.
Here's an analogy I like: if your theme is the architectural plan for your house, plugins are the appliances you install. Need a better security system? There's a plugin for that. Want to display your Instagram feed in the sidebar? Yep, there’s a plugin for that too.
Getting them installed is the easy part. Just head to Plugins > Add New, search for what you need, and click "Install" then "Activate."
Choosing and Managing Your Plugins
The official WordPress plugin repository is enormous. We're talking over 60,000 free plugins that have been downloaded billions of times. With that much choice, you have to be smart about what you install.
I always check for a few key things: recent updates, good ratings, and active support forums. Popular plugins like Wordfence for security have millions of downloads for a reason—they're trusted and maintained. To boost your site’s visibility, exploring the best SEO software for WordPress is a great move, as many top tools are delivered as plugins. A fantastic starting point is Google's official tool; you can learn more about how to elevate your site with the Site Kit plugin.
Once a plugin is on your site, keeping it updated is non-negotiable. Outdated plugins are one of the most common ways sites get hacked.
My rule of thumb is simple: if a plugin hasn't been updated in over a year, I look for an alternative. An abandoned plugin is a security risk waiting to happen, no matter how useful it seems.
Using Widgets to Control Your Layout
Widgets are another handy tool. These are basically little blocks of content that you can drop into specific areas of your theme, like the sidebar or footer. You’ll find that many plugins add their own custom widgets once you activate them.
You can manage your widgets from a couple of different places:
- The Customizer: Navigate to Appearance > Customize > Widgets. This is my preferred way because you get a live preview of your changes as you add, remove, or reorder things.
- The Widgets Screen: The classic Appearance > Widgets screen gives you a more traditional block-based interface to work with.
People commonly use widgets to show recent posts, add a search bar, display social media feeds, or just drop in some custom text and images. They give you that final bit of granular control over the areas surrounding your main content, rounding out your editing toolkit.
Advanced Editing and Site Management
Sooner or later, you'll want to make changes that go beyond just swapping out images or rewriting text. This is where you step into the world of advanced WordPress editing—the stuff that gives you real control over how your site works.
But with great power comes great responsibility. Digging into your site's core files can unlock powerful new features, but one wrong move can also bring your entire site down. It’s a place where you have to be careful.
The absolute first rule of advanced editing is simple: never, ever directly edit your parent theme's files. When your theme gets an update—and you do want those updates for security and new features—any changes you made to files like style.css or functions.php will be wiped out. Gone.
The Professional Way to Edit Theme Files
So, how do the pros do it? The industry-standard solution is a child theme.
Think of a child theme as a safe, transparent layer that sits on top of your main (parent) theme. It inherits all the style, functionality, and features of the parent, but lets you add your own custom code in separate files that never get touched during an update.
This way, you can update the parent theme without a second thought, knowing your custom tweaks are safe and sound in the child theme's folder. It’s the only sustainable way to build a truly custom site.
The workflow is straightforward: figure out the feature you need, add the code or install a plugin, and then configure it.
This simple process is best managed through a child theme or dedicated plugins, which keeps your core theme files clean and protected.
Working With Core Files and Staging Environments
There are times when you'll need to get your hands on core WordPress files. For example, the wp-config.php file holds your database credentials and other critical settings. To edit this, you need a secure connection to your server using SFTP (Secure File Transfer Protocol).
This is where a tool like the WPJack dashboard becomes a massive time-saver. Instead of messing around with FTP clients and login credentials, WPJack gives you instant, secure SFTP access right from your control panel. A technical, often frustrating task becomes just a few clicks.
Before you even think about touching a core file or testing a major plugin update, you absolutely must have a safety net. This is non-negotiable. Your safety net is made of two key things: a recent backup and a staging environment.
A staging site is just a private clone of your live website. It's the perfect sandbox for testing changes without any risk. Go ahead and experiment with new code, update plugins, or even switch themes. If something breaks, it breaks on the staging site where no visitor will ever see it. With WPJack, you can spin up a complete staging environment in a single click.
Backups are your ultimate undo button. If a change goes horribly wrong on your live site, a good backup can restore it to its last working state in minutes. For total peace of mind, it’s worth reading up on how to properly backup and restore your WordPress site. WPJack takes care of this automatically, running scheduled backups so you always have a recent restore point ready to go.
Editing Method Safety and Risk Comparison
When you move into advanced edits, it's crucial to understand the risks involved with each method. Some approaches are inherently safer than others.
| Method | Risk Level | Best Practice | WPJack Solution |
|---|---|---|---|
| Theme Customizer CSS | Low | Ideal for simple style tweaks. Always test on a staging site first. | Create a one-click staging site to test CSS changes risk-free. |
| Child Theme Edits | Low-Medium | Use for any custom functions or significant stylesheet changes. | Use secure SFTP access to upload and manage child theme files. |
| Plugin-Driven Edits | Medium | Choose reputable plugins. Test updates on staging before deploying. | Clone to staging to vet plugin updates before they go live. |
| Direct File Edits (SFTP) | High | Reserved for experts. Always edit on a staging server first. | Provides one-click SFTP access and a staging environment to prevent live site errors. |
Ultimately, a smart workflow that combines staging sites for testing and automated backups for recovery is the best way to keep your site safe while making powerful customizations.
Common WordPress Editing Questions Answered
As you get your hands dirty editing a WordPress site, you're bound to run into a few questions. It happens to everyone. Instead of letting them stop you in your tracks, here are some straight answers to the most common hurdles I see people facing.
What Is the Safest Way to Edit Theme Files?
The only way you should ever touch theme files like style.css or functions.php is through a child theme. Seriously. A child theme is basically a transparent layer that sits on top of your main (parent) theme. It inherits all the parent's good looks and features but keeps your custom code tweaks in a separate, safe folder.
This is a huge deal because when you update your main theme—which you absolutely must do for security—your changes won't get wiped out. If you edit the parent theme directly, you're setting yourself up for a world of pain. The next update will erase all your hard work, guaranteed.
For tiny CSS changes, like adjusting a color or font size, the easiest and safest method is using the "Additional CSS" box in the WordPress Customizer. You can drop in quick code snippets there without ever having to touch a theme file.
Can I Edit My WordPress Site Offline?
Yes, you can, and frankly, you should. Working on a live site is like performing surgery on a patient who is wide awake and walking around. The professional way to do it is with a staging environment or a local setup on your own computer.
A staging site is just a private clone of your live website. It's the perfect sandbox to test major plugin updates, try out a new theme, or rewrite your homepage without your visitors seeing the mess. If you break something, who cares? It's on the staging site, not the one that makes you money.
Another option is to install WordPress on your machine using a tool like LocalWP. This lets you build and tinker completely offline. Once you're happy with the results, you can push the changes up to your live server.
Think of a staging environment as your ultimate safety net. It’s where you catch mistakes and conflicts before they have a chance to affect your audience or your business.
How Do I Revert Changes If I Make a Mistake?
How you roll back a mistake depends entirely on what you were doing. Luckily, WordPress has a few built-in "undo" buttons.
- Posts and Pages: WordPress has a fantastic "Revisions" feature built right in. It automatically saves older versions of your content as you work, letting you browse and restore a previous draft with a couple of clicks.
- Design Changes: If you mess something up in the Theme Customizer, you'll usually have to go back and manually change the setting back to what it was before.
- Serious Errors: Now, for the big stuff—like a bad piece of code that crashes your whole site—your best friend is a backup. Having a reliable, automated backup system is completely non-negotiable for any website owner who's serious about their business.
This is where a service like WPJack shines, giving you automated backups that are your get-out-of-jail-free card. You can restore your entire site to a working state in minutes.
What Is the Difference Between the Block Editor and a Page Builder?
This question trips a lot of people up. The Block Editor (Gutenberg) is the default content editor built into WordPress. It's designed to help you create content inside the structure your theme provides. It's great for writing blog posts and standard pages using elements like text blocks, images, and columns.
A Page Builder, like Elementor or Divi, is a separate plugin that gives you a much more powerful, visual, drag-and-drop interface. It essentially takes over your theme's content area, giving you a blank canvas to build complex, custom page layouts from scratch.
Here’s a simple way to think about it: the Block Editor lets you arrange furniture in a room your theme has already built. A Page Builder lets you design and build the entire room yourself.
Ready to manage your WordPress sites like a pro without the technical headaches? WPJack provides a simple dashboard to deploy, secure, and manage your sites across any cloud provider. Get one-click staging, automated backups, and secure SFTP access instantly. Start for free on wpjack.com
Free Tier includes 1 server and 2 sites.