
In this tutorial I’ll show you how you can install WordPress server on DigitalOcean using their 1-click installation with least amount of time.
Their design is really promising, I immediately know it’ll be an easier job than installing WordPress on Linode.
After creating my account this is the first screen I see:
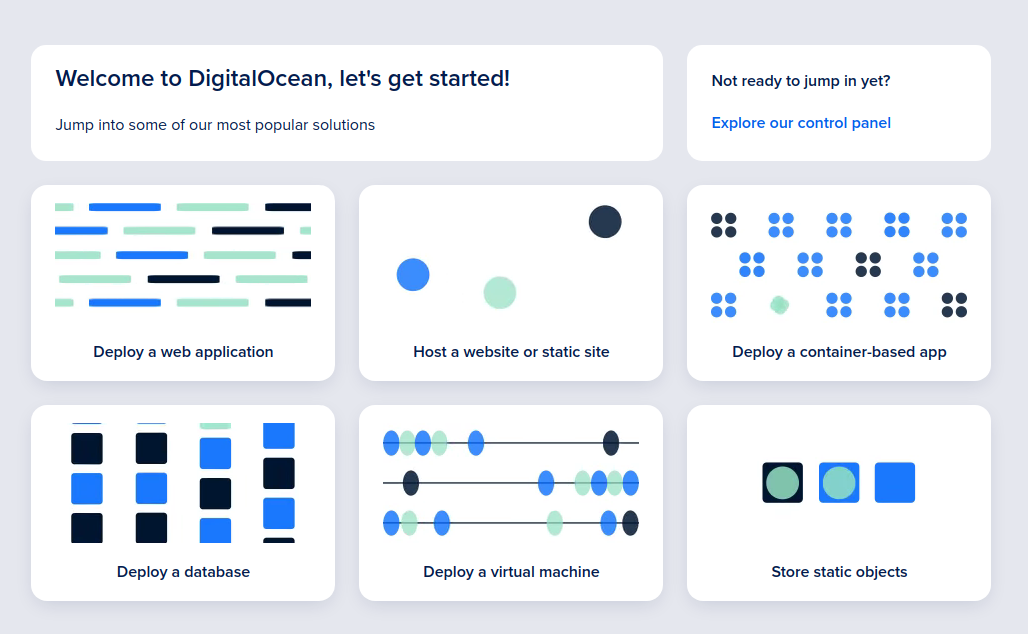
I choosed Host a website or static site.
After that I had to choose a workflow or what kind of app I am installing:
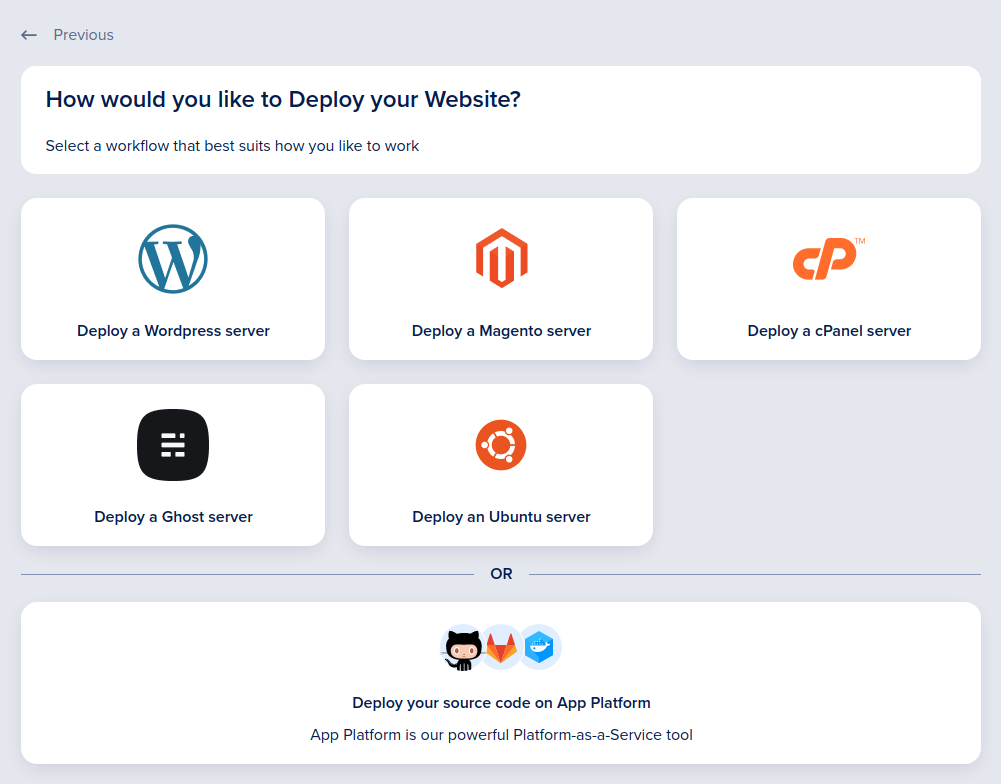
I went with Deploy a WordPress server of course because I want to install wordpress server.
Install WordPress server on a Droplet
This is a bit more technical now, but still quite easy.
They have selected basic setup for me:
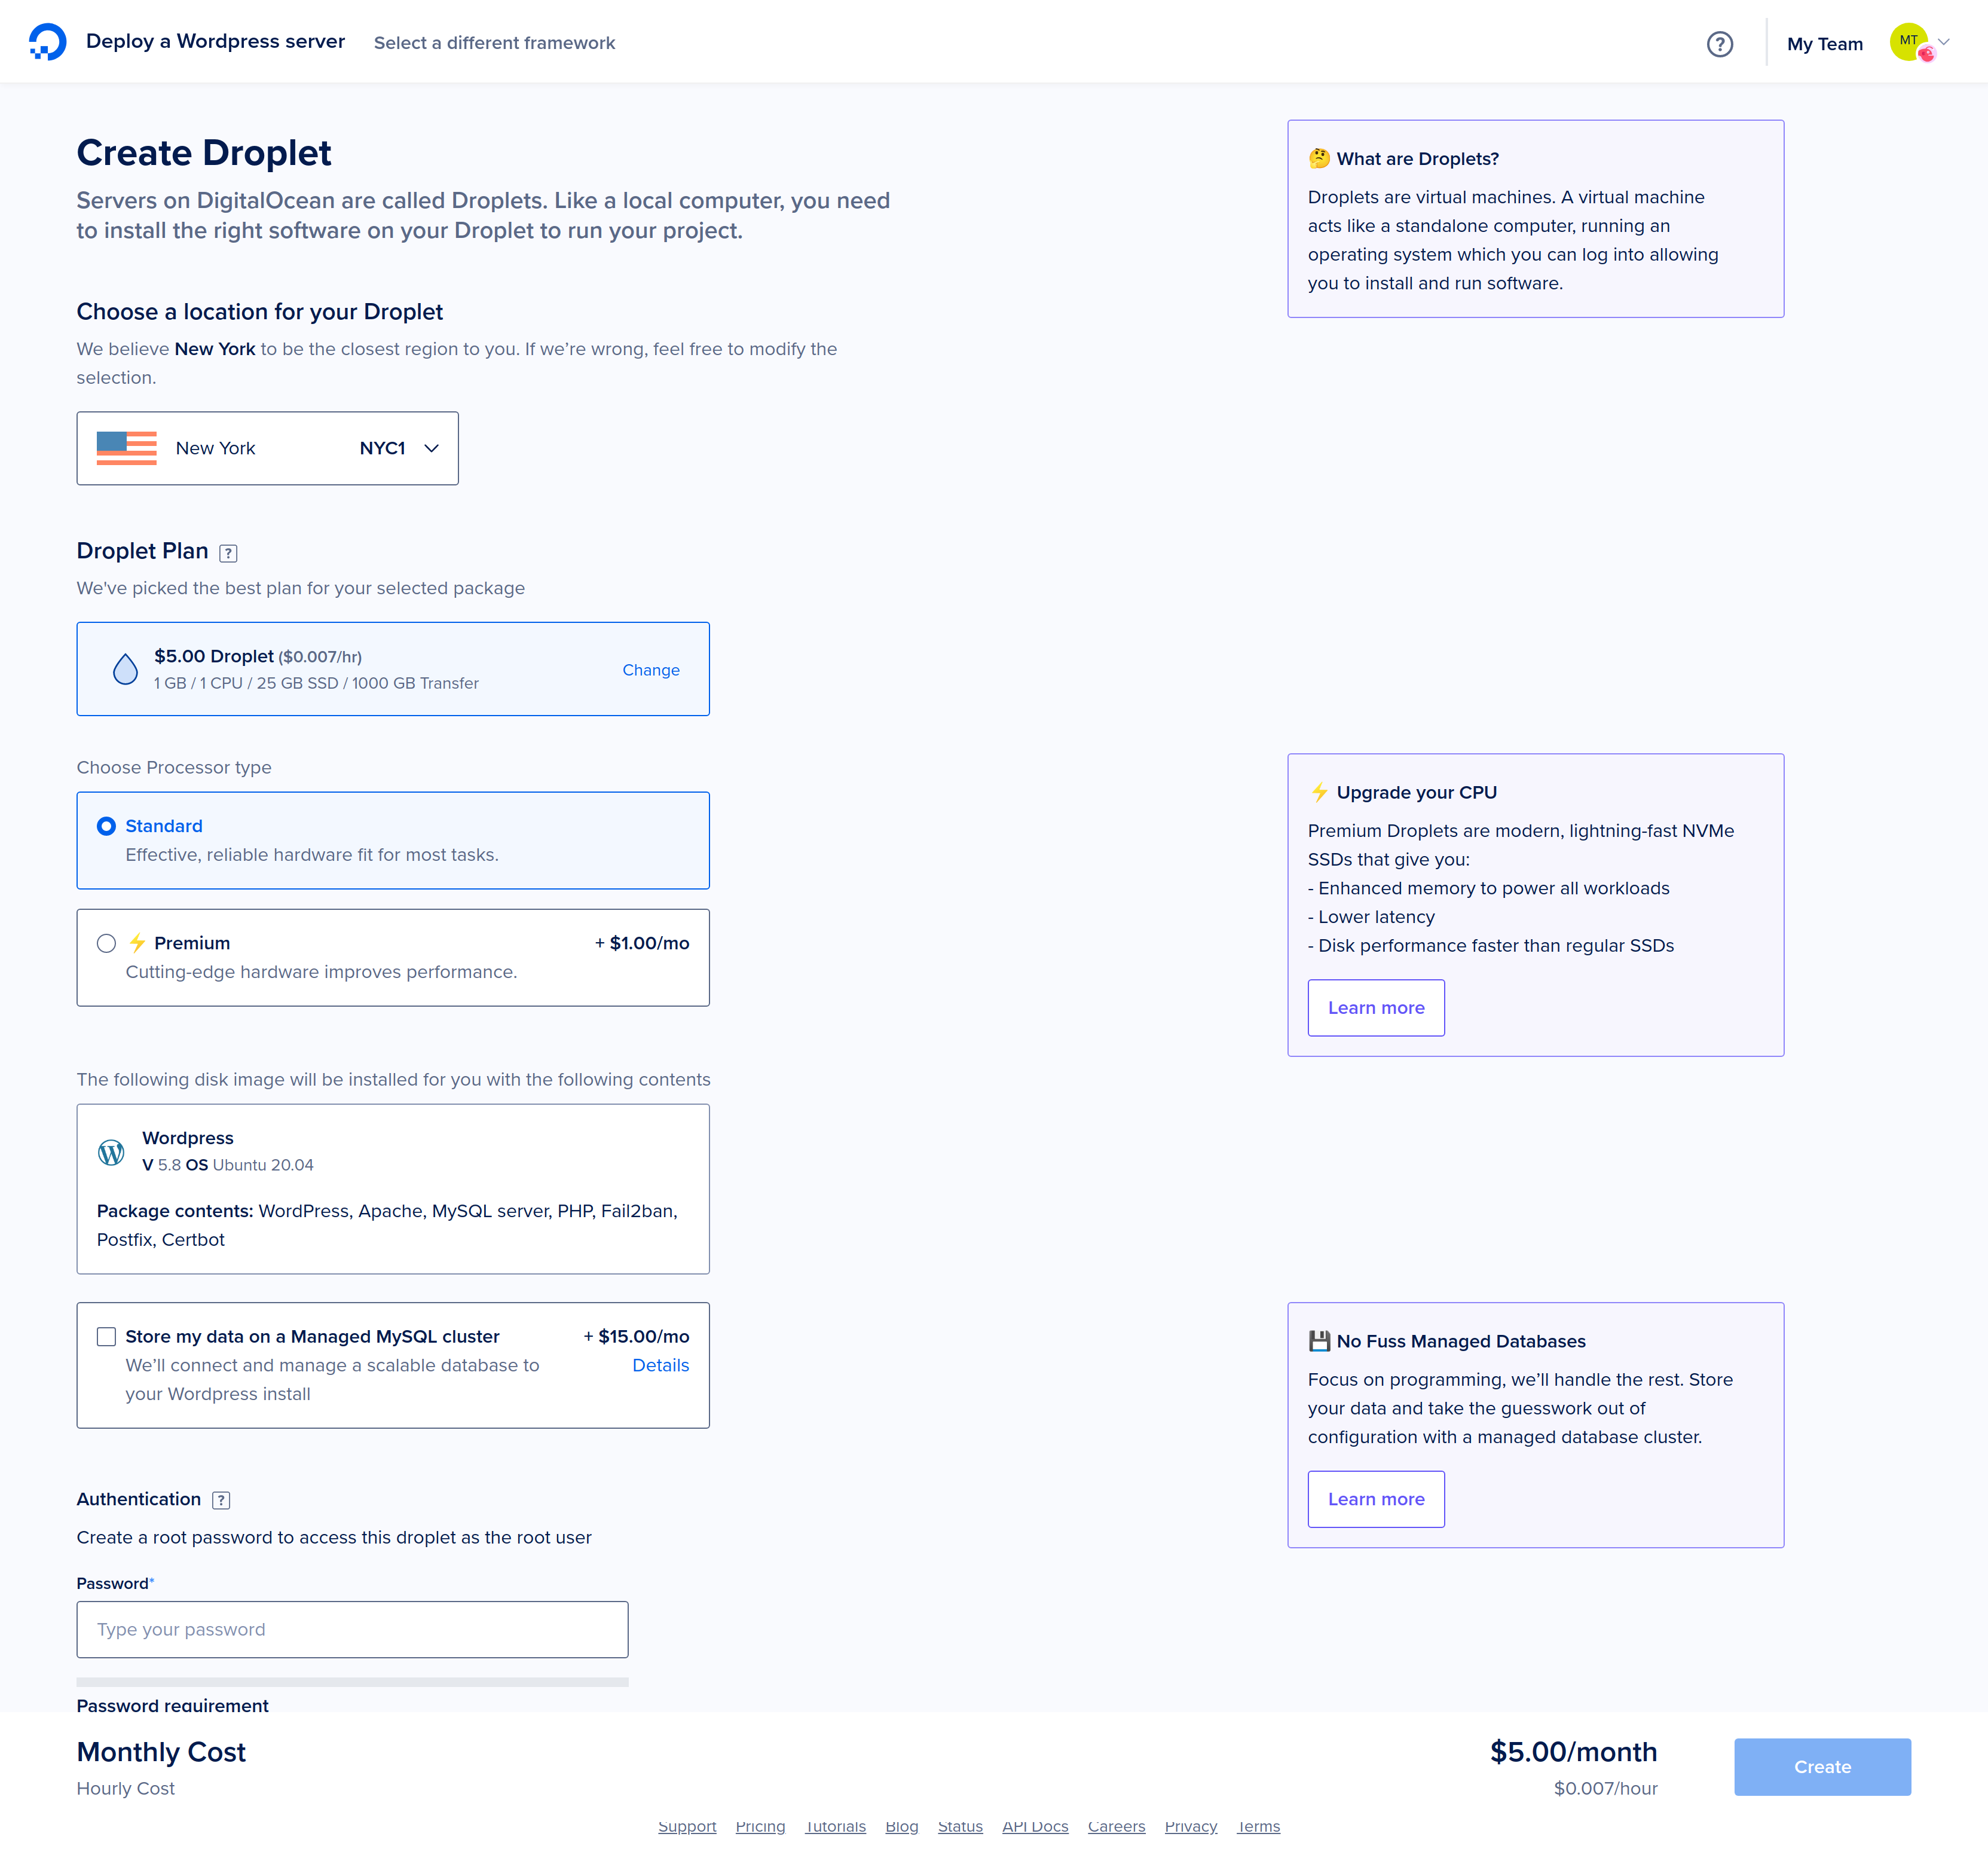
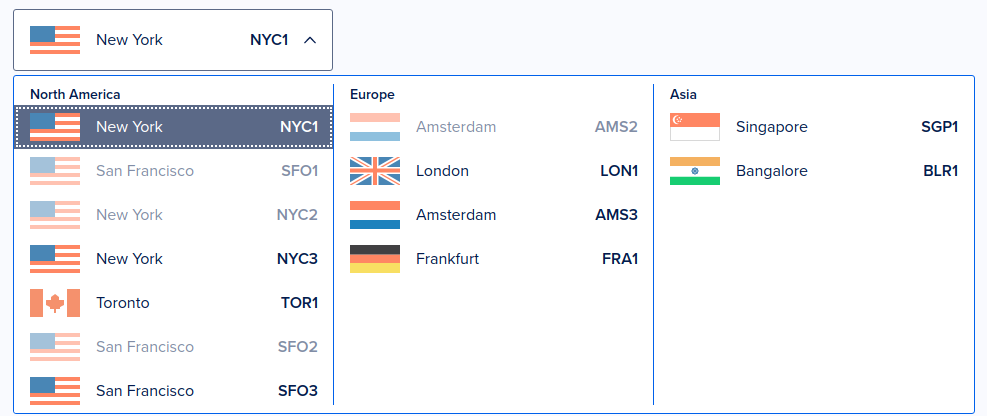
In my case location is New York, you can modify that and choose among many locations:
I can leave everything as it is and just choose a secure root password for my droplet.
Their password rules are a bit annoying but I guess they know what they are doing.
Now hit that Create button and DigitalOcean will install wordpress server for us.
Server is installed now next stage
After few minutes my droplet is ready:

From panel I see that my droplet is using some strange name, I see IP address and Get Started link.
Lets visit Get started link:
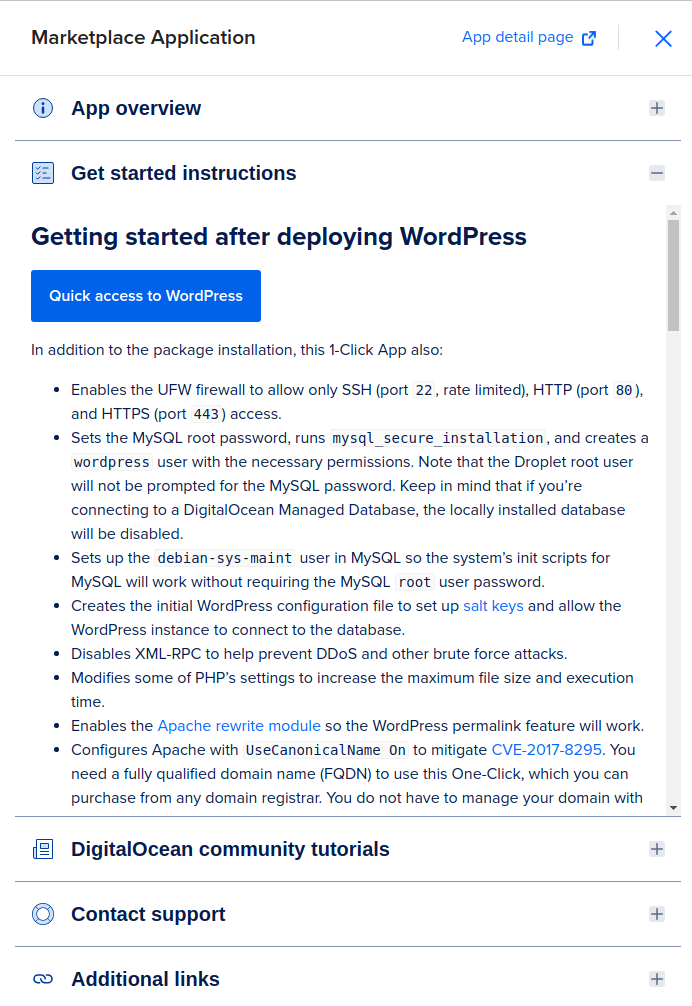
It seems that I was wrong about how easy it is to install WordPress on DigitalOcean 😤
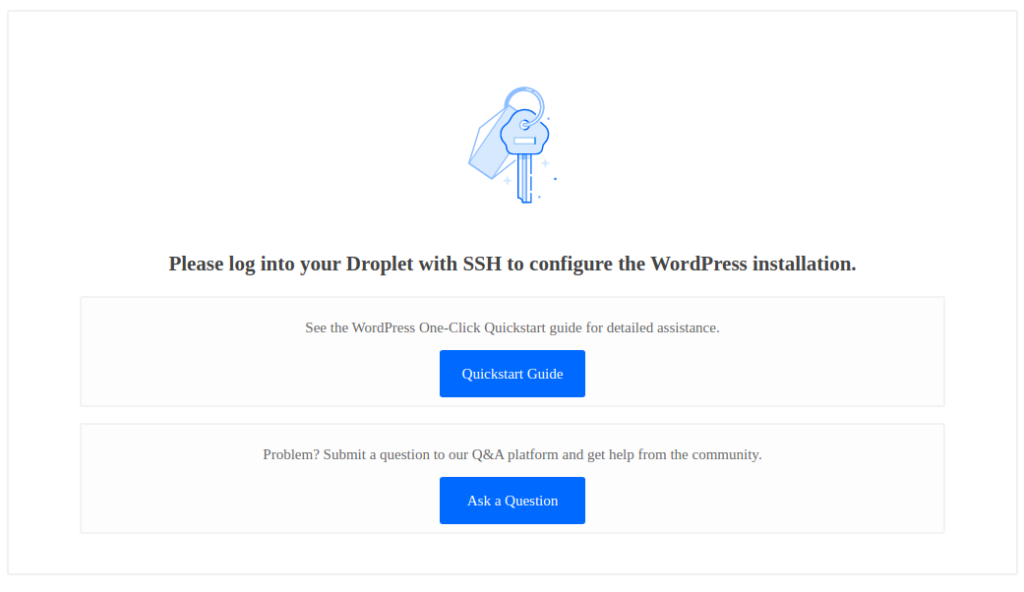
I have no focus to read all this text, so I’ll just clik Quick access to WordPress.
Oh wait..
SSHing into my droplet
I’ll need to open my terminal and type:
ssh [email protected]Of course you need to switch my IP address with one from your droplet, otherwise this won’t work 🤪
Terminal will ask me for my password, that’s the one I created during droplet configuration stage.
After login I am presented with this:
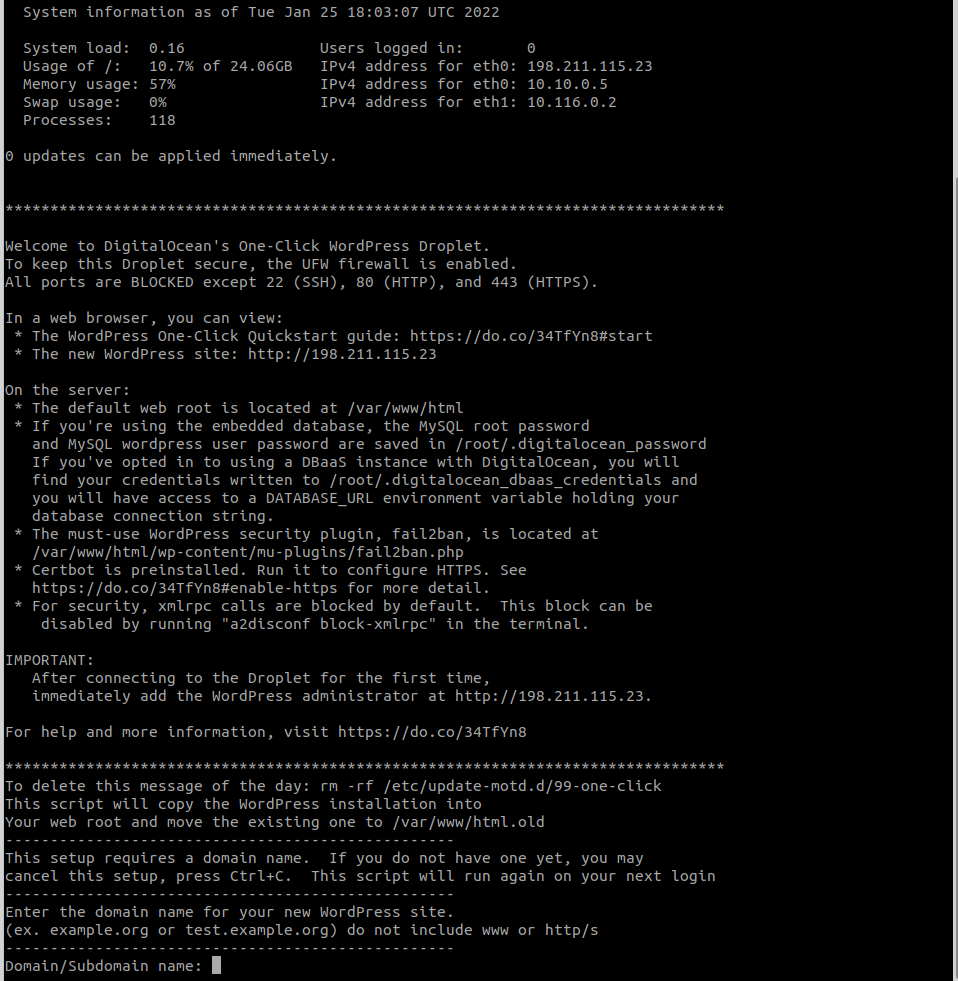
Who cares about these details I though this was 1-click installation. It looks to me like an essay.
Only important is this last line asking me about the domain.
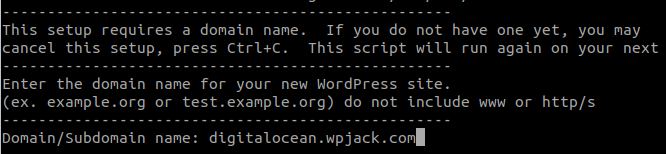
For this purpose I created a subdomain digitalocean.wpjack.com and added new DNS A records pointed to droplet IP.
I will insert that subdomain here.
After this system asks me these details:
- Email Address
- Username
- Password (new one for wp-admin)
- Blog Title
And more questions about correctness of entered information and finally about SSL certificates.
I want SSL so when asked do I want to enable certificate I type y.
Now they ask me again about my email for SSL notifications 😫
Finally they ask me to accept their ToS.
Oh actually this is not a last question they have more:
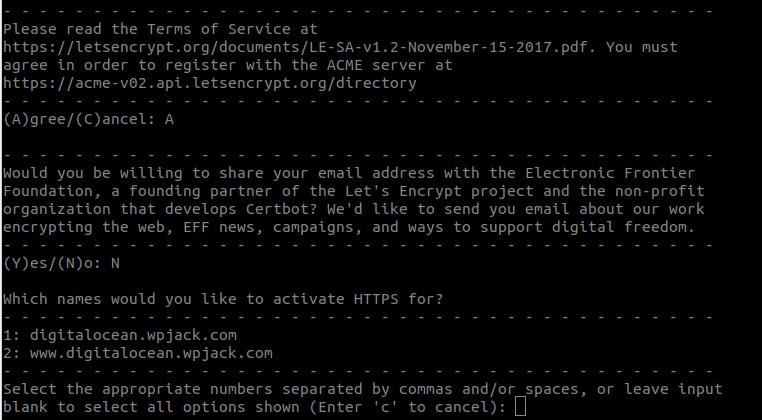
I’ll choose this option 1 because I was lazy to setup www record 😉
After system obtains valid SSL certificate they ask me do I want to redirect HTTP traffic to HTTPS. That’s always a good idea, so I’ll choose 2. Redirect.
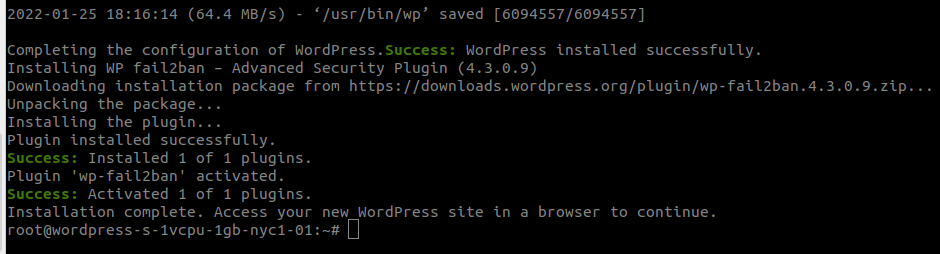
My installation is now ready.
If you think my tutorial is long just visit official tutorial on DigitalOcean.
Free Tier includes 1 server and 2 sites.